They said it wouldn’t be messy. That it would be easy and you’ll have fun while doing it. They were wrong. #DIYKitChallenge22
Disclaimer: Harley Benton invited me to be part of their DIY Kit challenge, and I got monetarily compensated for my efforts. However, whether the video/post was sponsored or not, the company has no say in what I talk about in the video/post nor do they get to see the content before it is released.
Harley Benton CST-24T Kit Build Series: Part 1 | Part 2 | Part 3
What Is DIY Kit Challenge?
Harley Benton held a DIY kit challenge in the spring of 2022 where both influencers and customers could participate in a contest by getting one of the Harley Benton DIY kits. Our task is assembling them, and doing various finishing and modification works on them to create unique-looking and functioning instruments.
What happened between part 1 and part 2?
I have built 2.5 guitars from scratch (the last one is still unfinished). And those have been painted in environments designed for spraying lacquer and color. But because this was a DIY challenge, I wanted to stay true to the spirit of the contest and decided to do all the paintwork, etc., in the environment most of the contestants would be doing that: spare room, garage, or even a tent. My mother-in-law not only offered me a spare bedroom to use but also set it up for me, which was very kind of her.
My shopping list was long
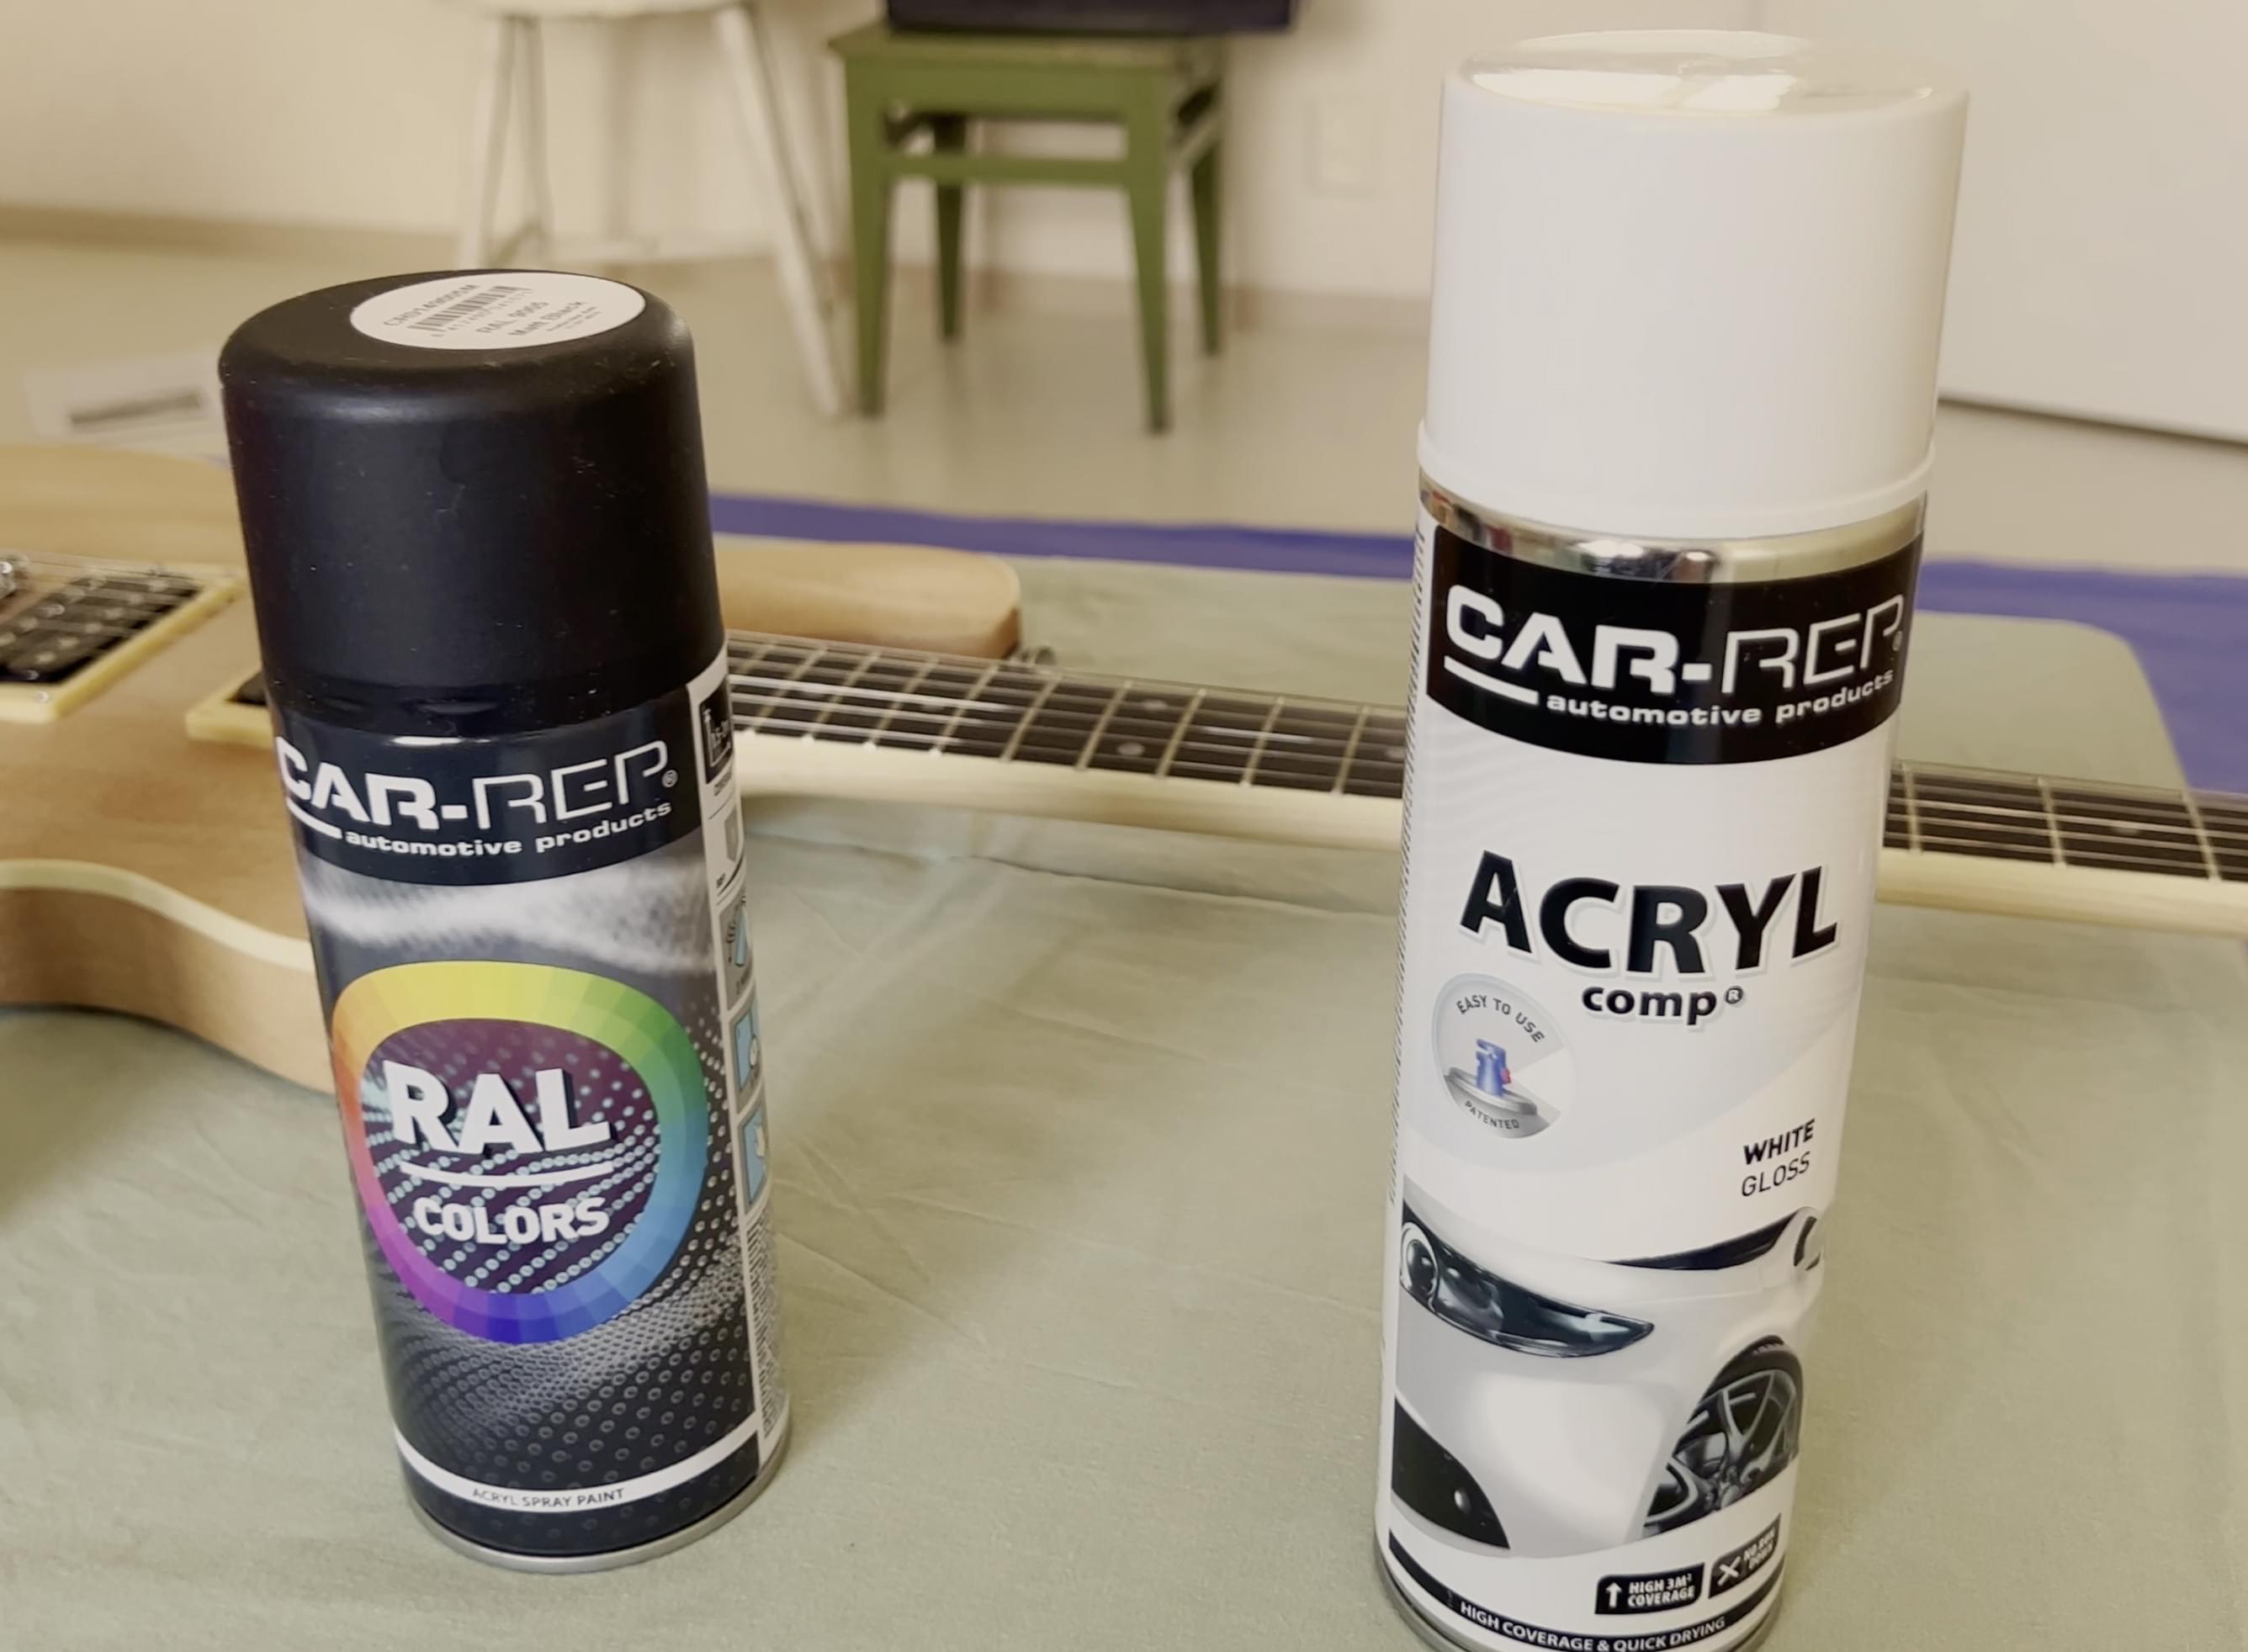
I didn’t have an air compressor or anything like that at my disposal. So the only option was to use spray paint and lacquer. I did a lot of research and asked around on some guitar forums for tips on painting the guitar with spray paint. Based on the recommendations I got, I ended up with a few specific spray color brands and paint types that should work together. Basically, all of these were meant for painting a car.
The 4 spray cans I got were:
- 2K clear coat (a.k.a. lacquer)
- Neon pink spray color
- Black spray color
- White spray color
The helpful people at the local store took time to make sure all these finishes would work together. I also bought a ridiculous amount of sandpaper in different grit grades and a bunch of other things I knew I would need to get the project finished.
The room where it happens
Besides bringing in a bunch of tools, I also brought my Triad-Orbit stand with me so I had something I could hang the guitar on while spray painting and letting it dry. My mother-in-law had covered most of the surfaces in the room as well, so I was ready to roll. To get started, I had to take the whole guitar apart.
Sand, Spray, Repeat
As mentioned in the first part of the build series, the guitar body already had grain filler and primer applied to it. However, I was still feeling some rough spots here and there. Leaving those untreated would result in an uneven paint job and possibly ruin the whole project. So, I had no choice but to sand the body to avoid more issues in the future.
I didn’t want to paint the neck, but as you saw in the design, I did plan to paint the headstock black. The neck and the headstock seemed to have an even lacquer layer on them already, so I could actually try to paint the headstock right away.
Things Go Very Wrong And My Plan B
As I was about to spray my first base coat layer on the guitar body, the cap of the spray can snapped, and I got spray lacquer all over my hands. And because it was Easter Saturday in Finland, all the stores were closed for the next two days or so.
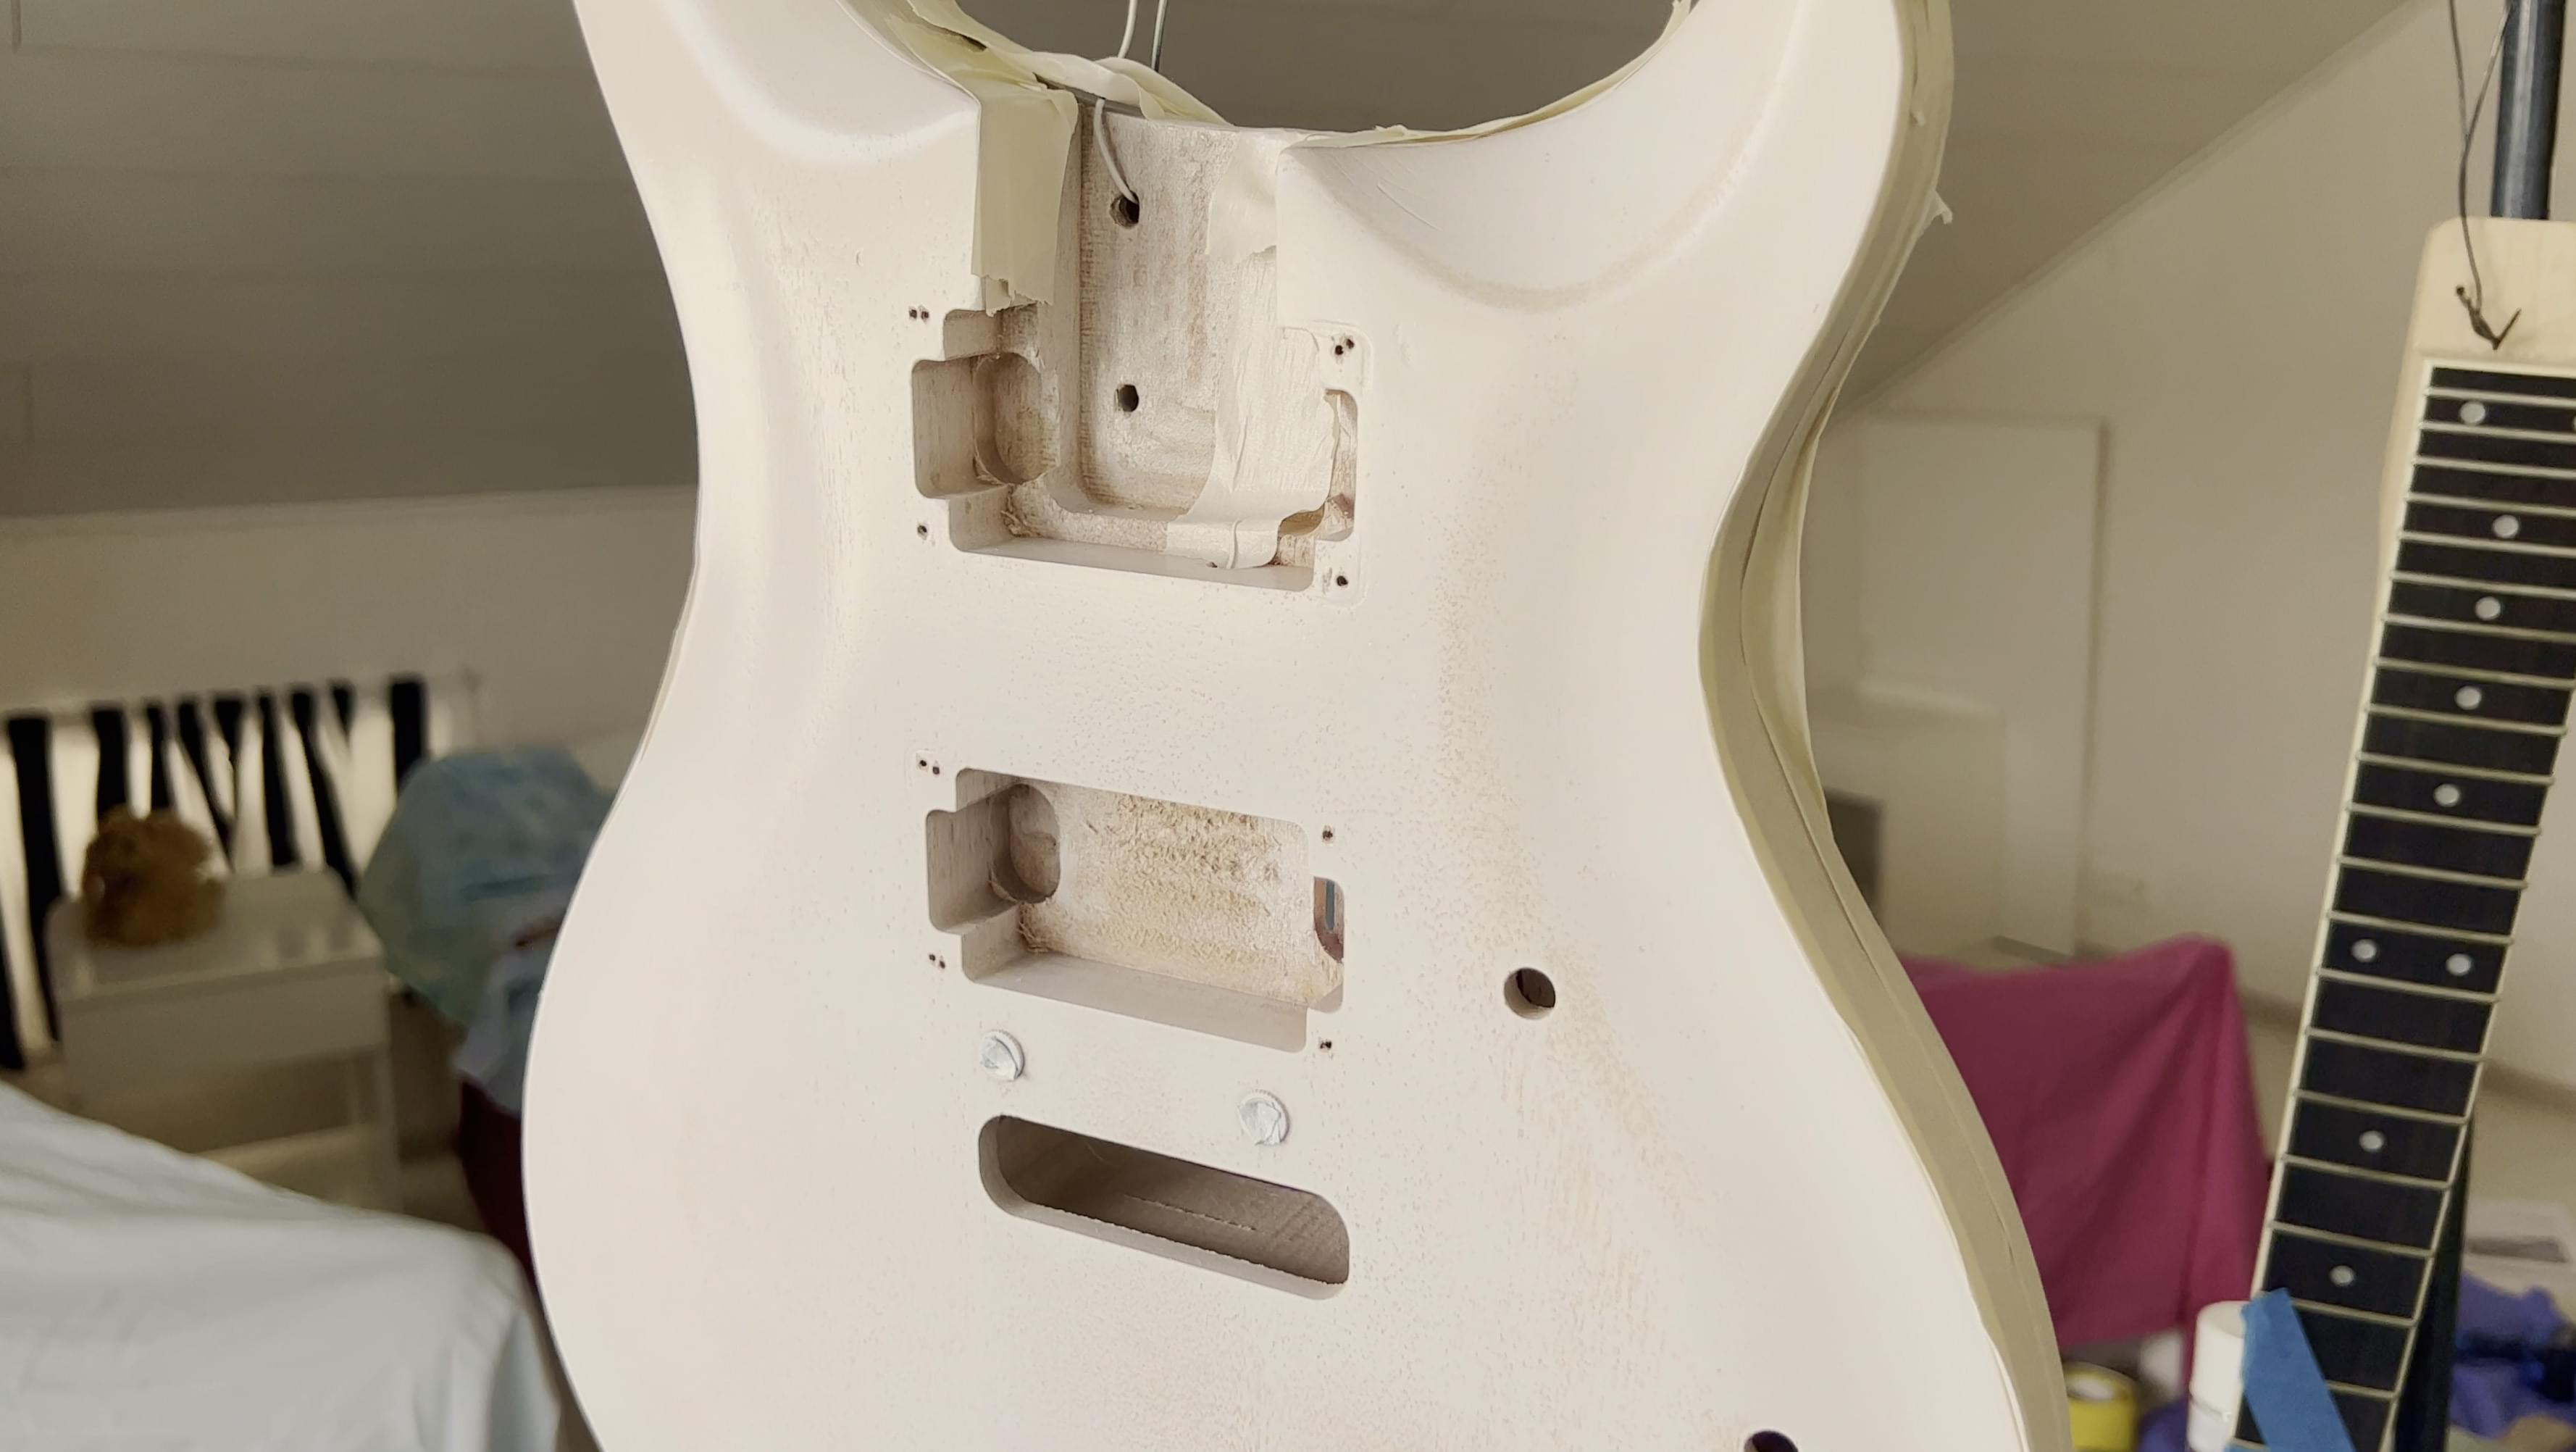
To get the project finished in time, I went with plan B. I skipped the extra lacquer layer I planned to apply, taped off the parts of the guitar I didn’t want to paint, and started applying white paint on the guitar’s top. Before that, I did a few tests with black spray paint on a piece of wood to get the feel of these spray cans and make sure I’m not applying too much paint.
I sprayed the first layer of black on the headstock and left it to dry for a little while. After spraying a second layer 30 minutes later, I proceeded to spraying white paint on the guitar body. I started with the white paint because I figured it would be the best way to achieve the design we saw in the previous part. After applying all the color layers, I left the guitar to dry for 24 hours.
Day 2 of the paintventure
Examining the guitar top the next day reminded me why it would have been nice to be able to apply at least one clear coat layer before spraying on paint: there were visible inconsistencies in the paint job. This happens because some of the pores of the wood suck in a lot of paint, resulting in an uneven surface. To fix that, I will have to sand some of the paint off and apply more paint layers.
The top of the headstock looked great, but I want to apply at least one more paint layer just to make sure the paint layer isn’t too thin. I’ll also start looking for a water decal to have my logo on the headstock, but more on that in the last part of the series.
After sanding the body and the headstock, I proceeded to apply more paint on them and let them dry.
Day 3 of the paint extravaganza
The guitar body is looking great, even though there’s a bit of orange peel on it. Also on the lower part of the body, there are still some inconsistencies with the finish. Most of it looks good though.
Because I’m on a time constraint, I will have to work around these issues by masking the good parts with the tape and painting over the bad sections with pink and black.
Paint it pink
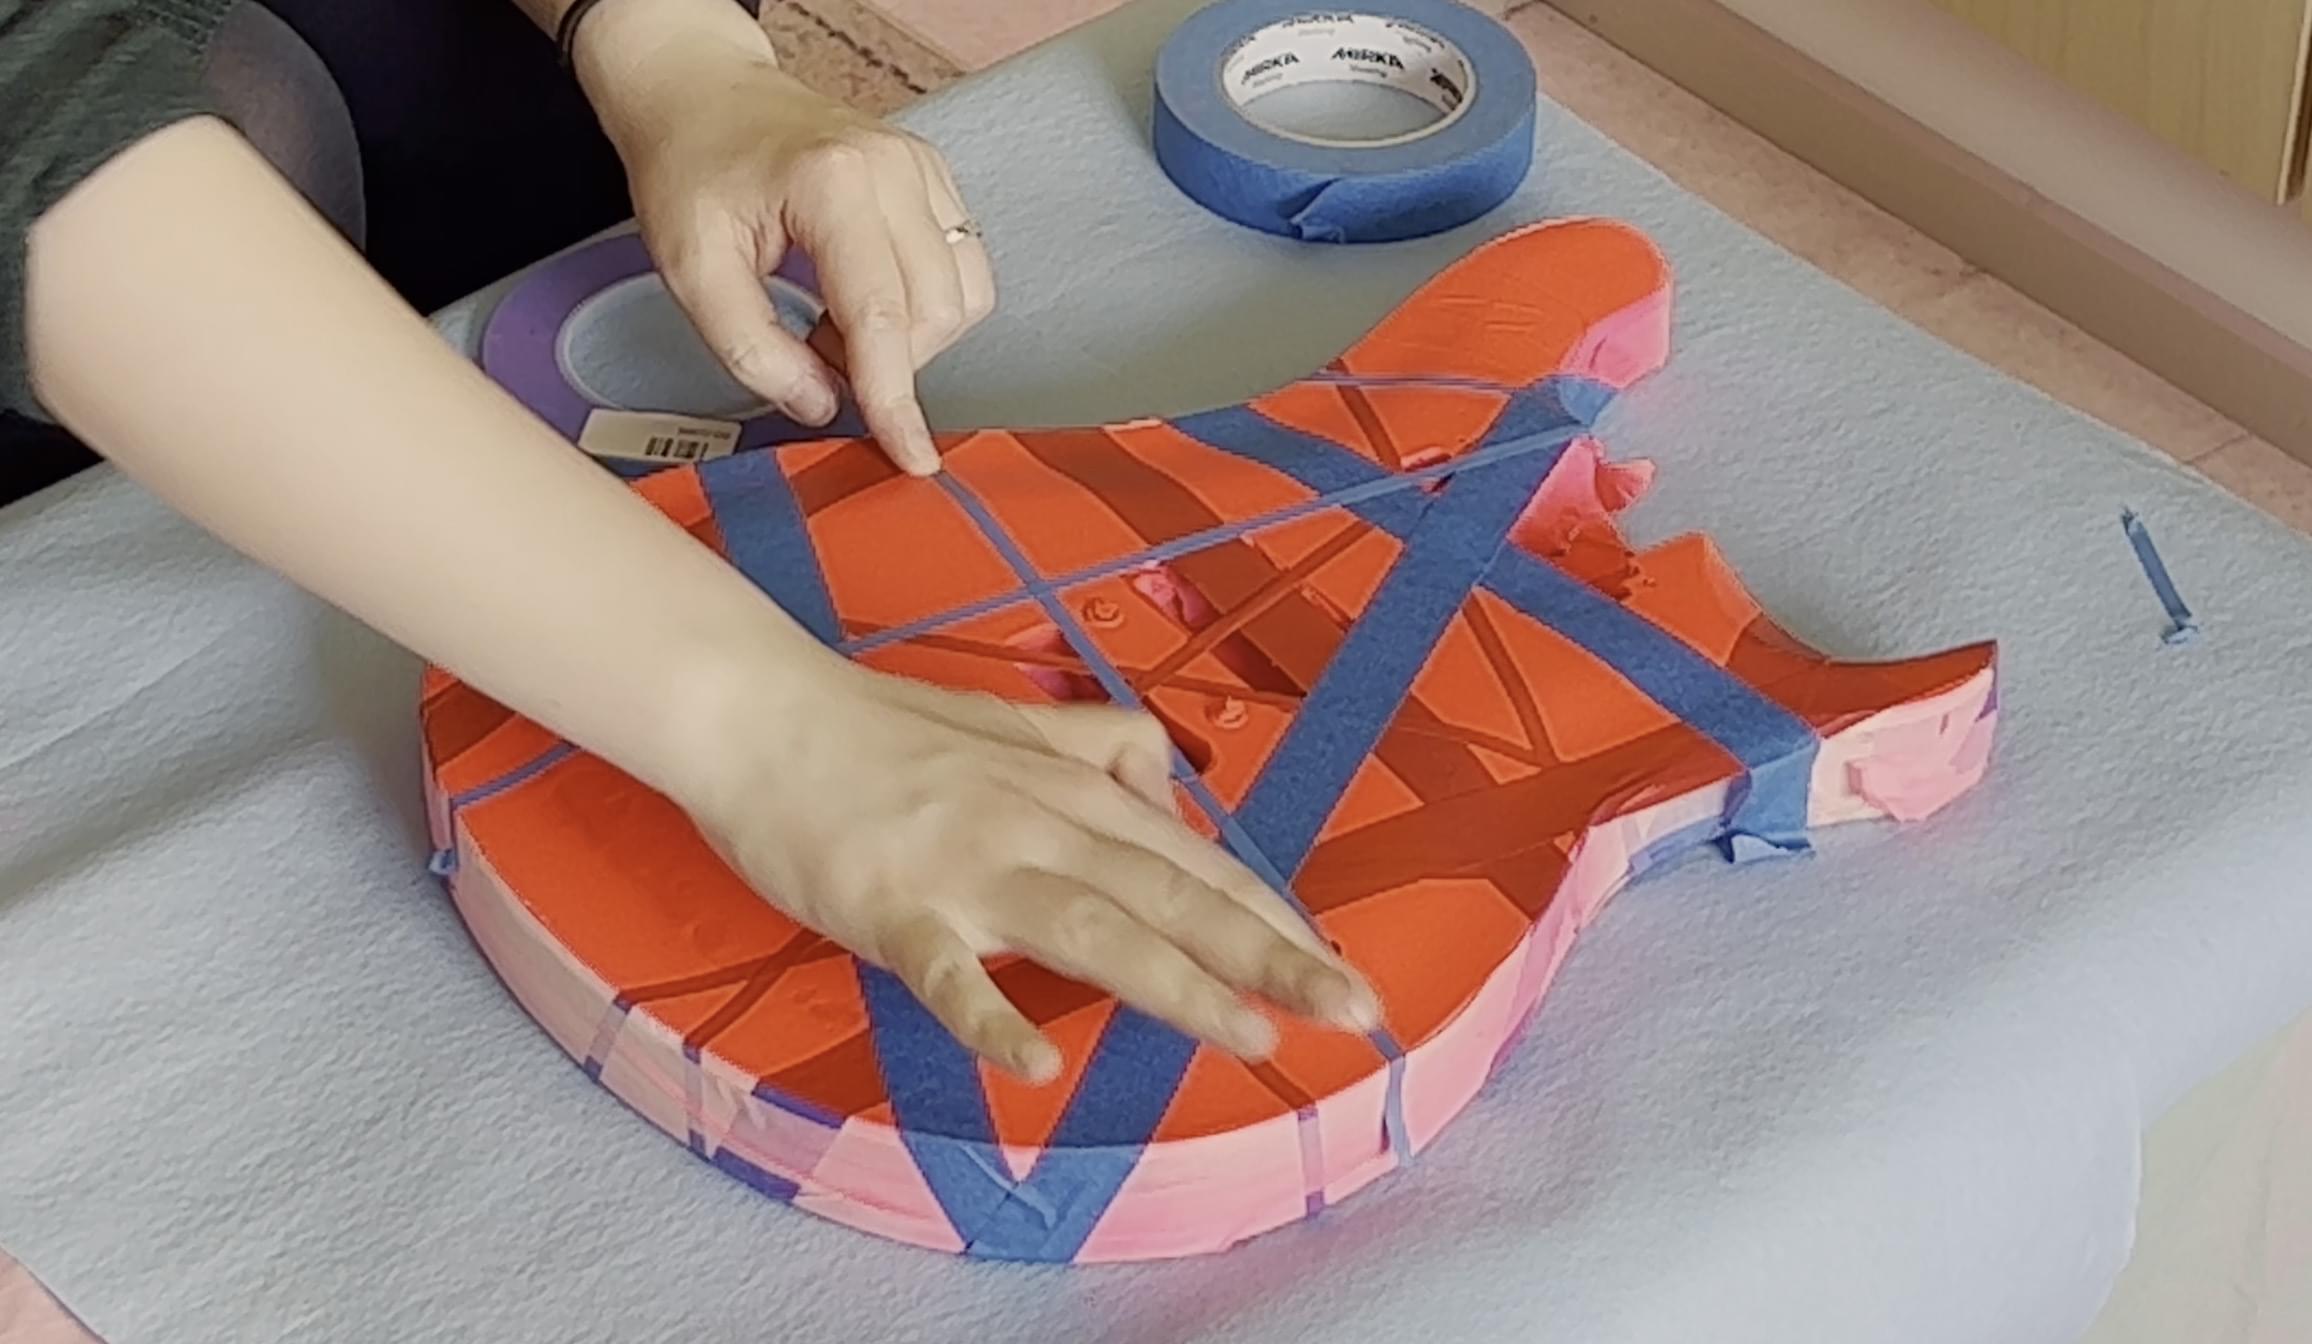
After some sanding of the guitar body, I asked my wife to help with the stripe design. Even though the EVH style stripes may appear random, it’s surprisingly difficult to make them look like that. We had three different widths of masking tape available and we tried to make sure we wouldn’t mask any of the parts where the paint job was less-than-ideal. Having a second opinion when designing this look was great.
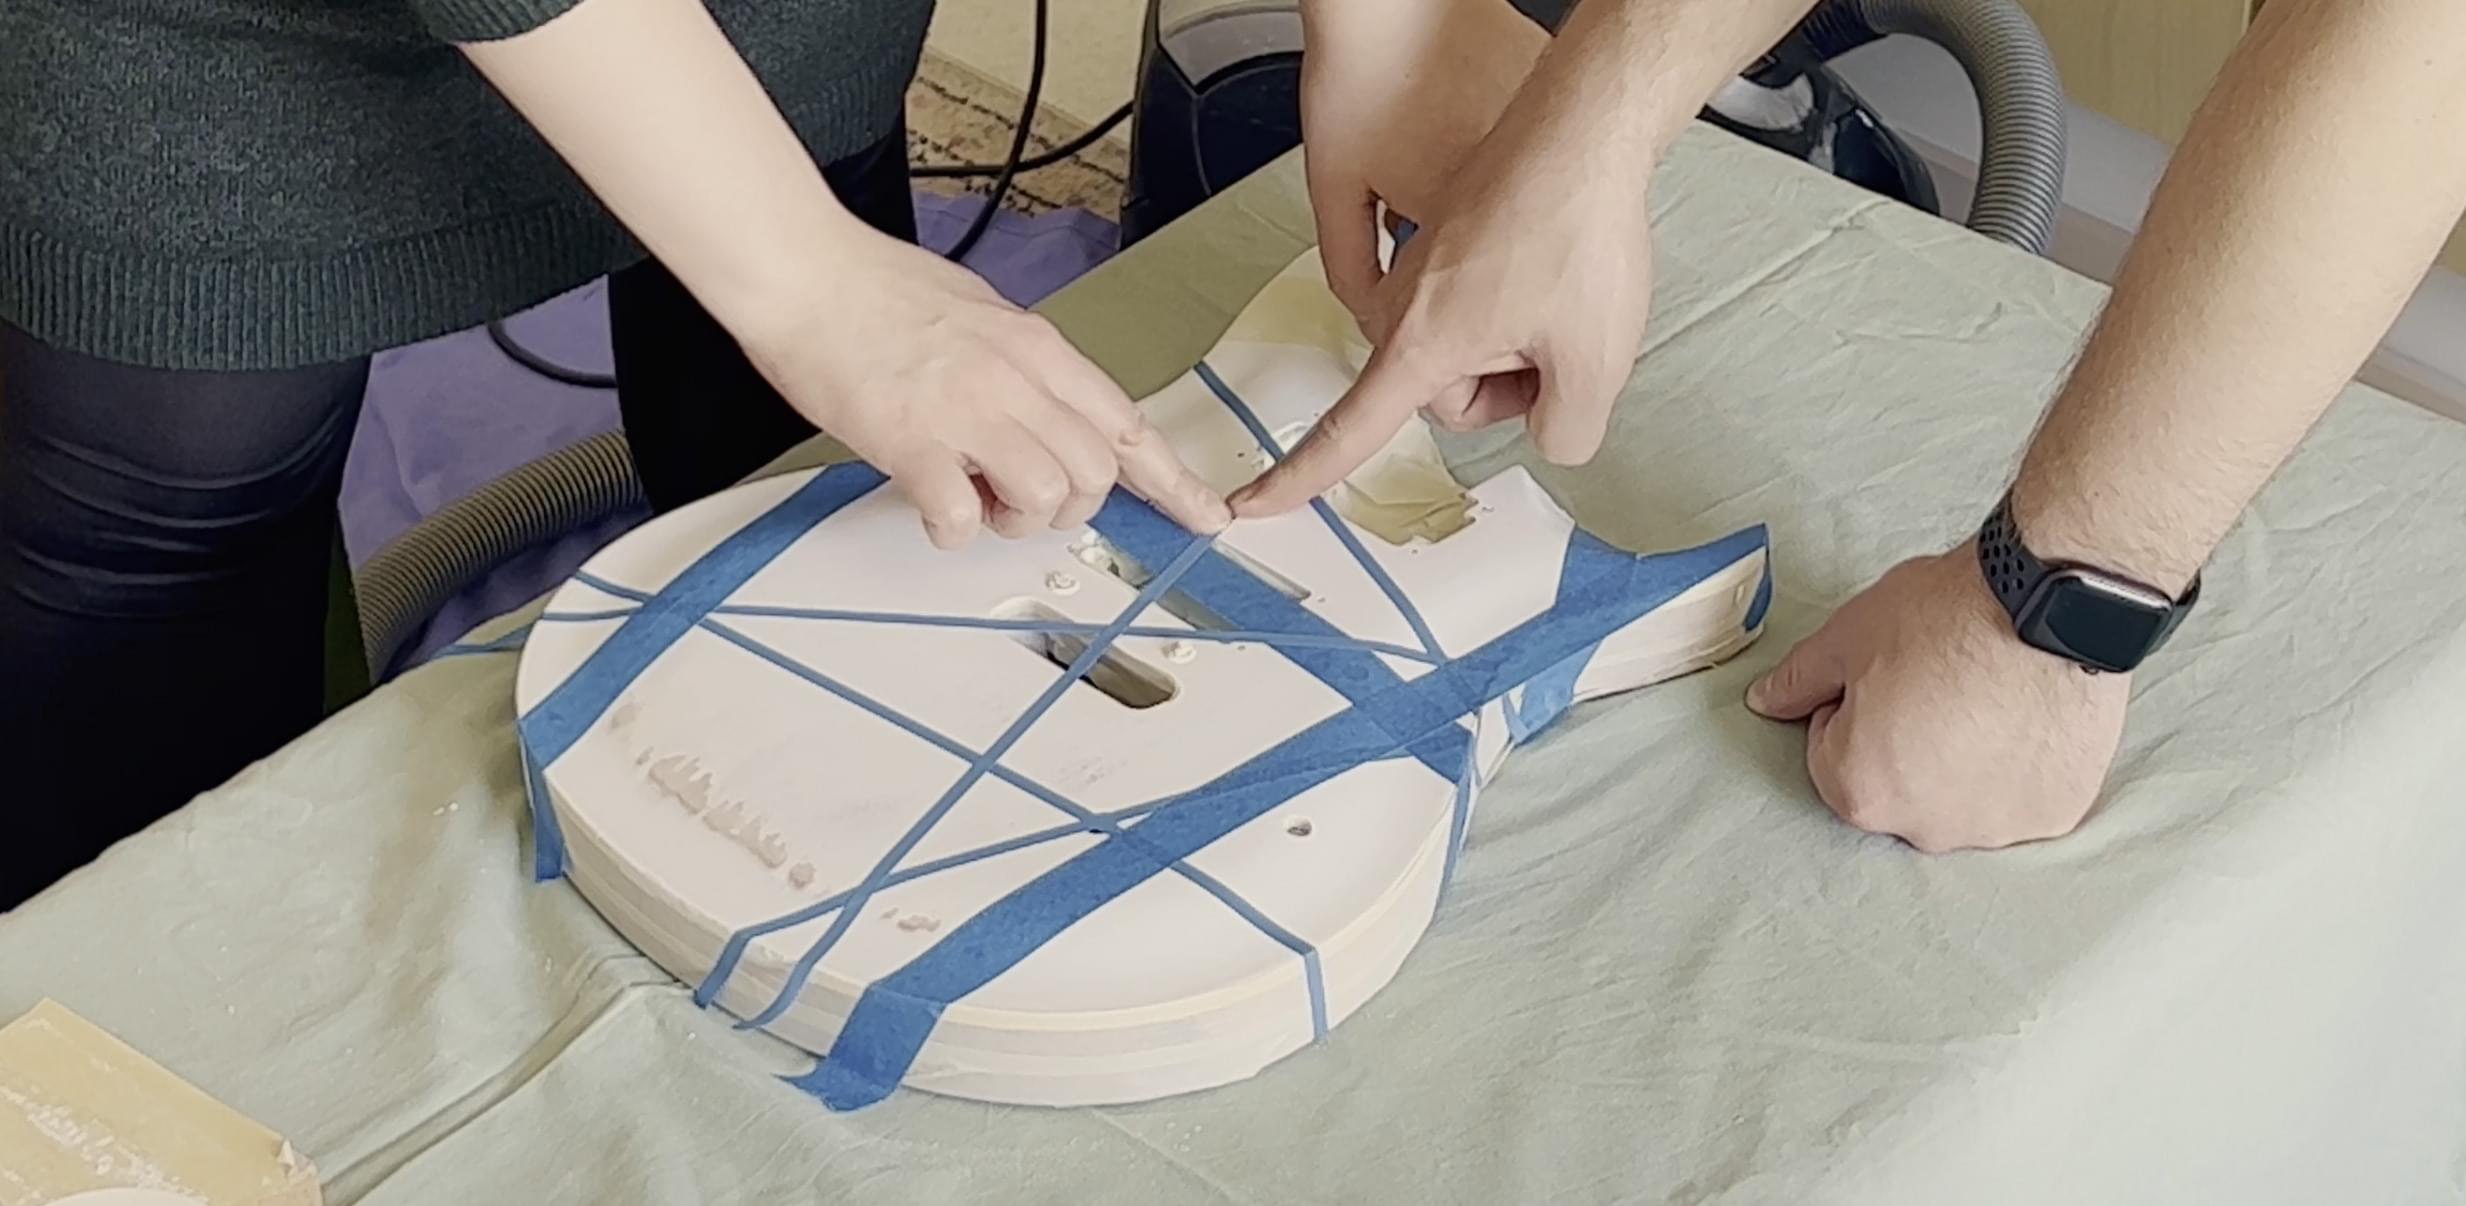
Before painting with pink, I had to again mask all the areas I didn’t want to paint. I also made sure all the tape would stay in place because any of it detaching during the drying, for example, would be catastrophic. Then it was time to apply the pink paint.
Take off that mask(ing tape)!
Once the pink layers had dried, we did another round of taping, and I sprayed the black layers of the paint on the guitar body. The dry guitar body looked like a black mummy ready to be unpacked, and that’s exactly what we did next.
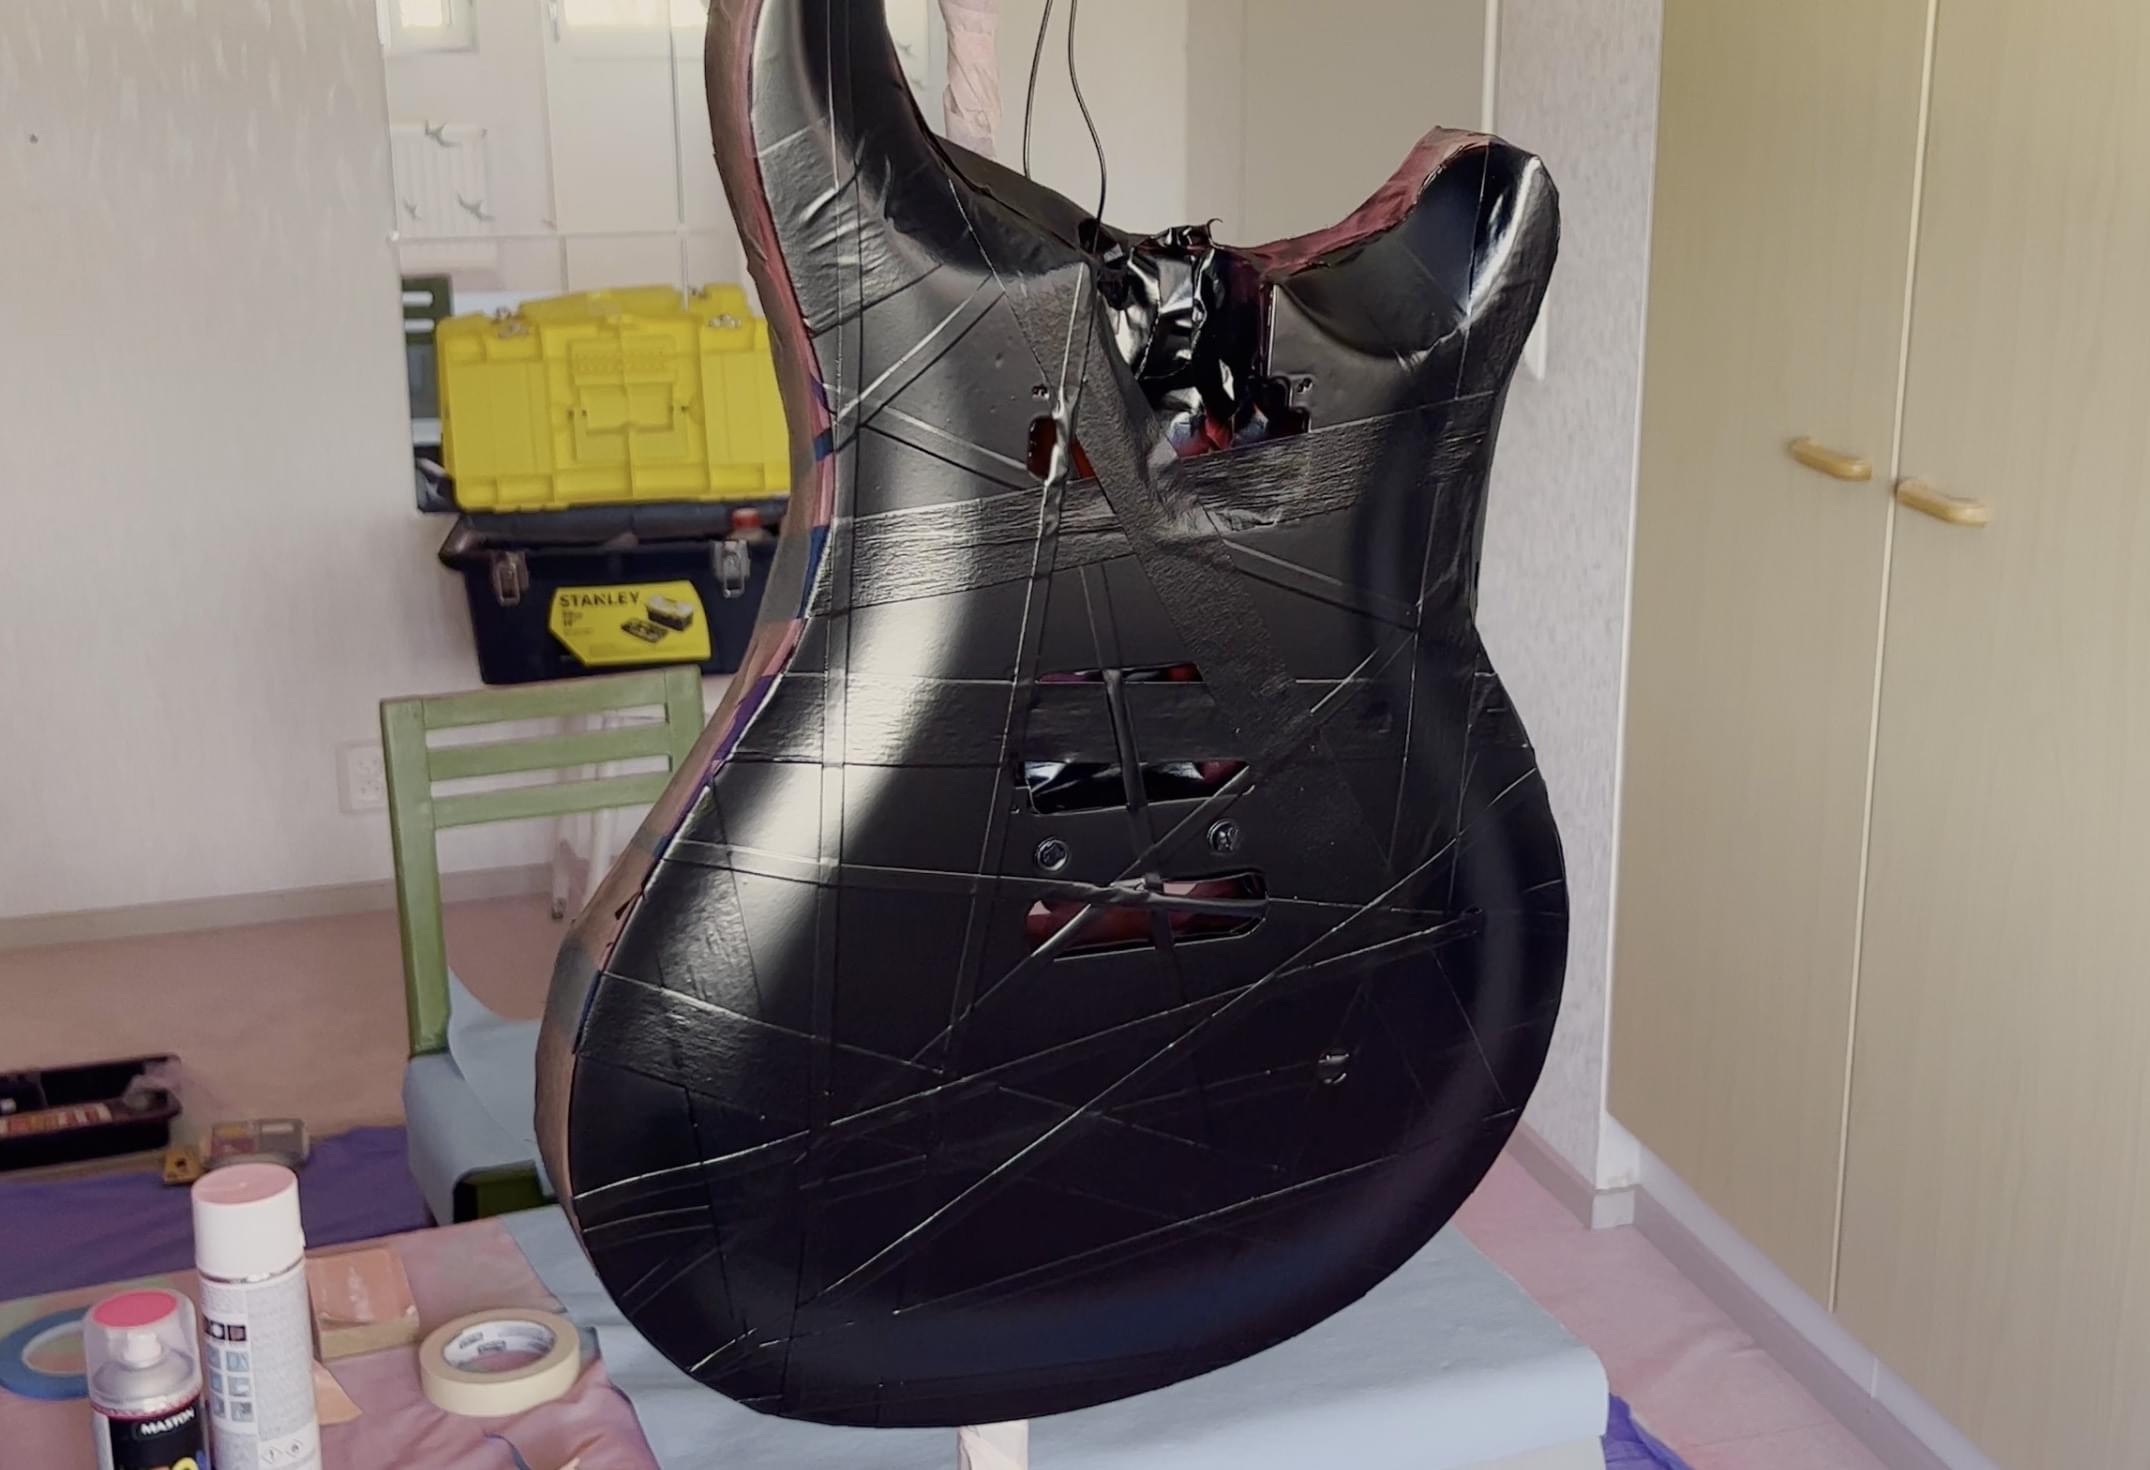
This was the moment of truth: the whole project lives and dies with the guitar body’s design. The paint also hadn’t completely dried yet, so we had to be extra careful peeling off those tape stripes. I strongly recommend checking out the video above to get a glimpse of what we experienced peeling off the tape one piece at a time.
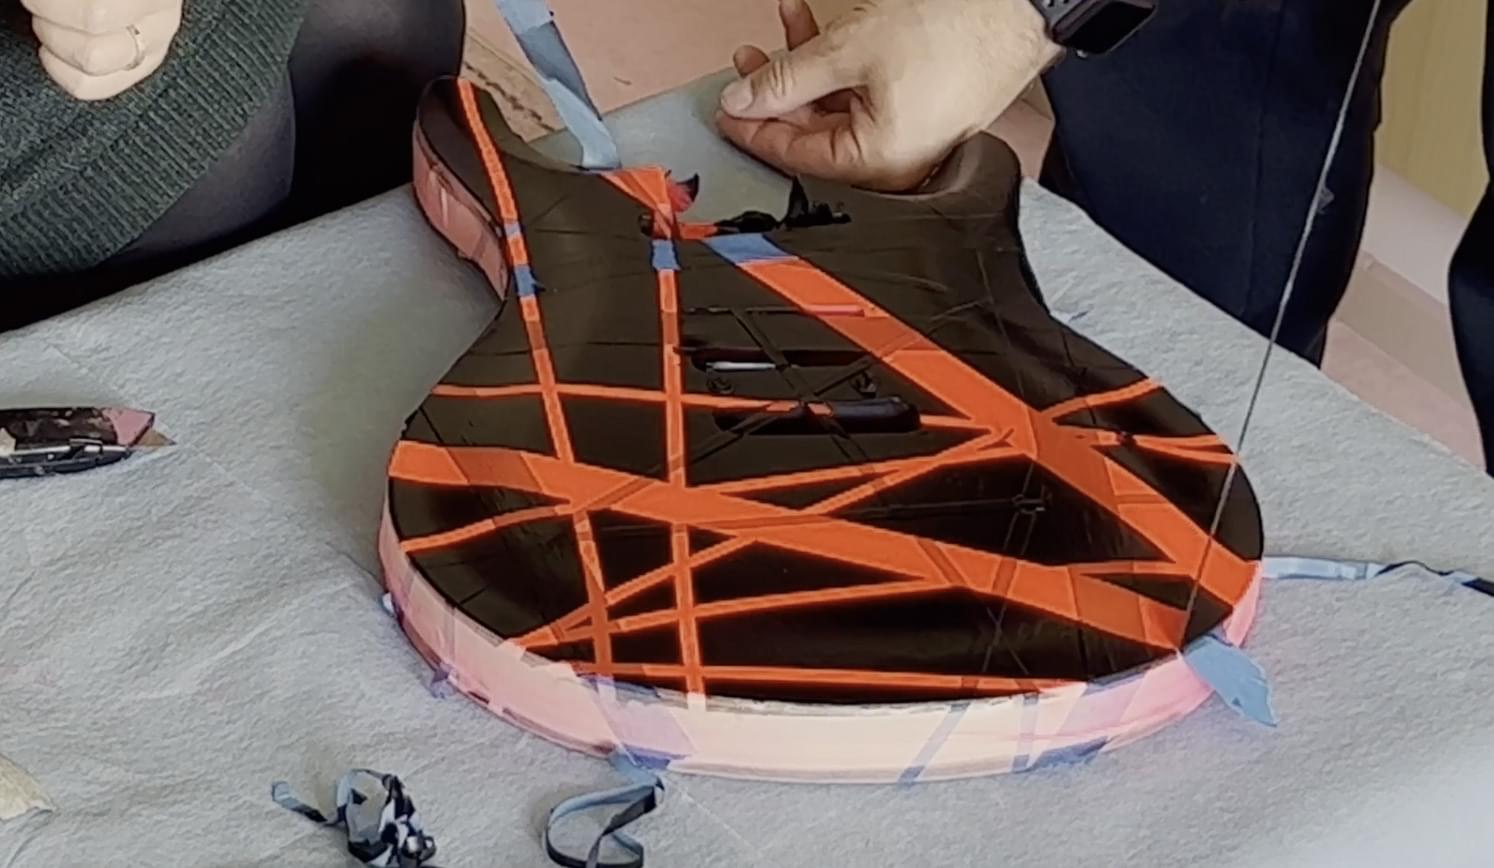
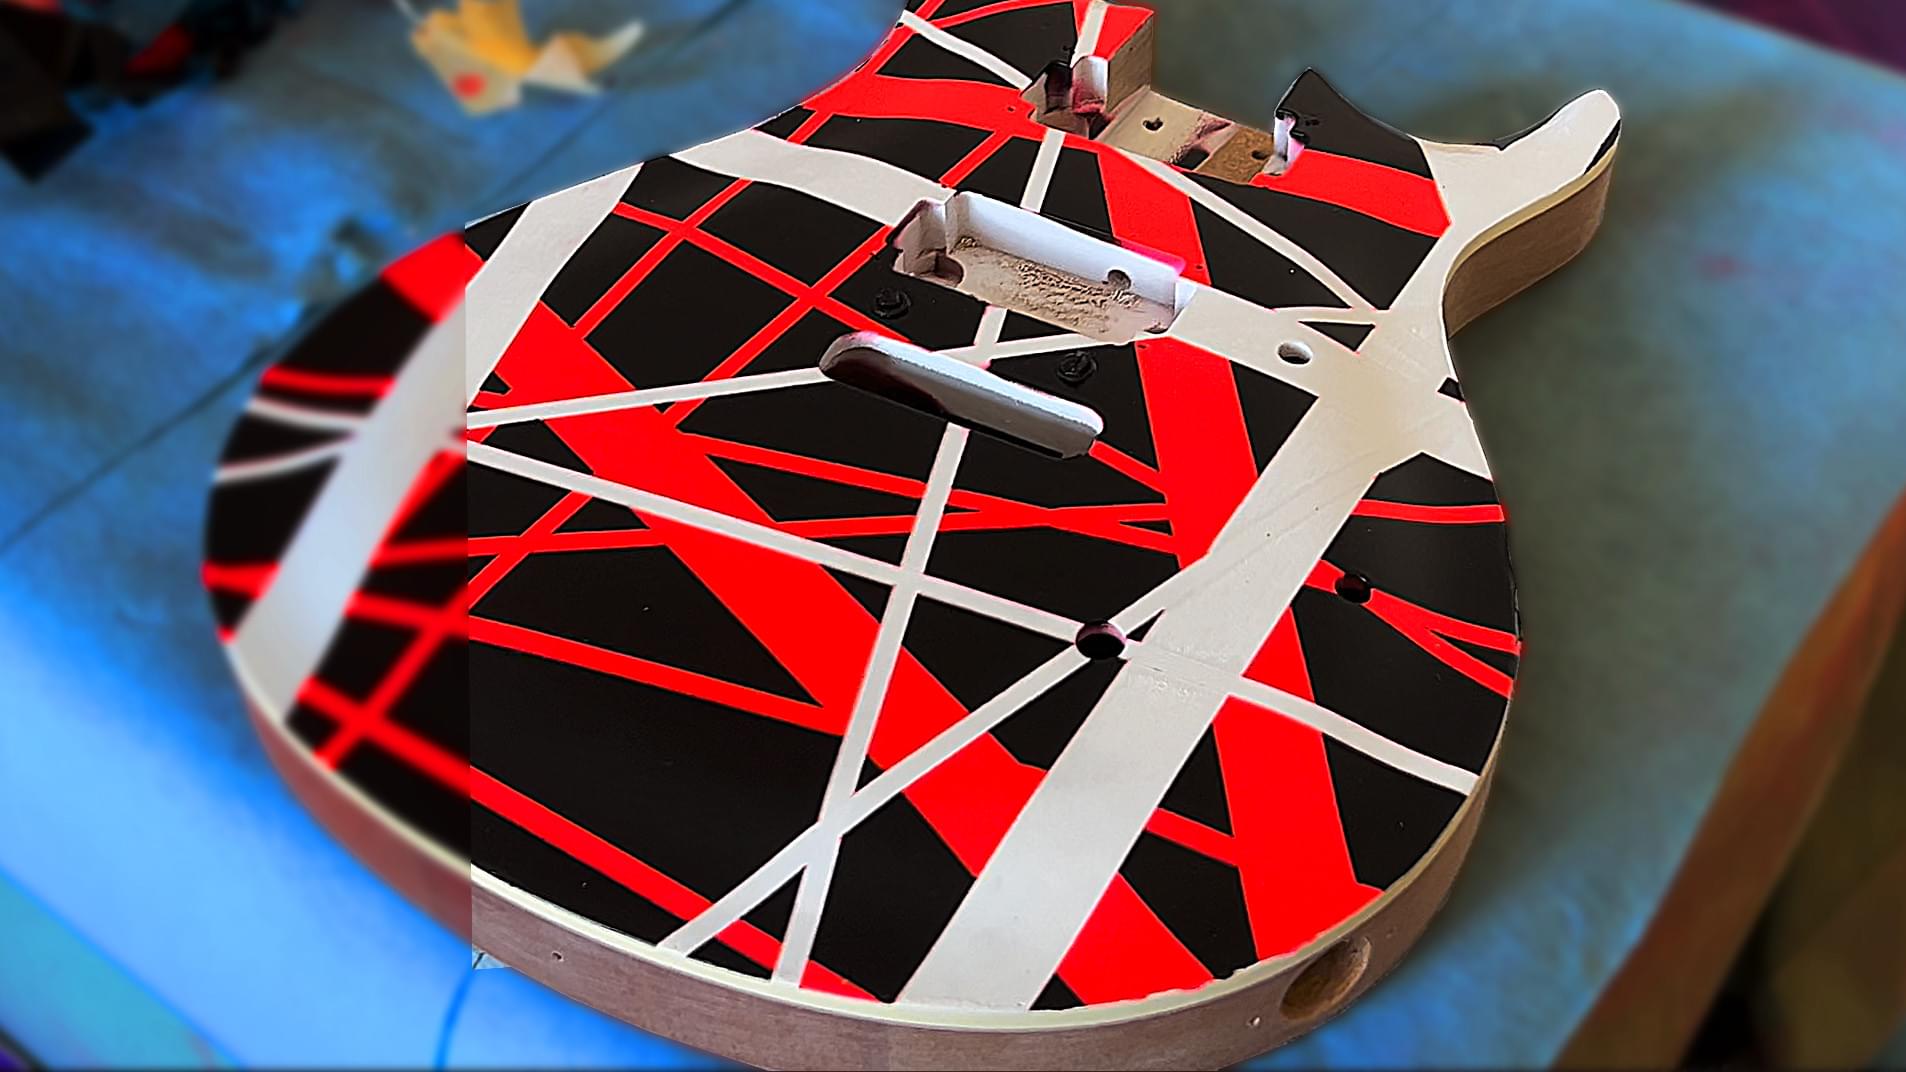
The finished body ended up looking even better than I hoped! And for some reason, the neon pink actually looks red on this guitar. So somehow I managed to achieve both the EVH design and the color scheme as well!
There’s still a lot of scraping and little tweaks to do, but overall, I was just incredibly happy how the guitar body looked.
In the next part, we’ll apply the finishing touches and put the whole guitar together.
If you’re interested acquiring your own Harley Benton DIY kit and support what I do, you can find affiliate links here:
►►Harley Benton DIY Kits: https://thmn.to/thocf/cq3g0p7wzj
Leave a Reply