Dozens of hours spent. Clothes and cover sheets ruined. One guitar (somewhat) completed. It’s time for the final round of #DIYKitChallenge22.
Disclaimer: Harley Benton invited me to be part of their DIY Kit challenge, and I got monetarily compensated for my efforts. However, whether the video/post was sponsored or not, the company has no say in what I talk about in the video/post, nor do they get to see the content before it is released.
Harley Benton CST-24T Kit Build Series: Part 1 | Part 2 | Part 3
What Is DIY Kit Challenge?
Harley Benton held a DIY kit challenge in the spring of 2022 where both influencers and customers could participate in a contest by getting one of the Harley Benton DIY kits, assembling them, and doing various finishing and modification works on them to create unique-looking and functioning instruments.
We pick up where the last part ended
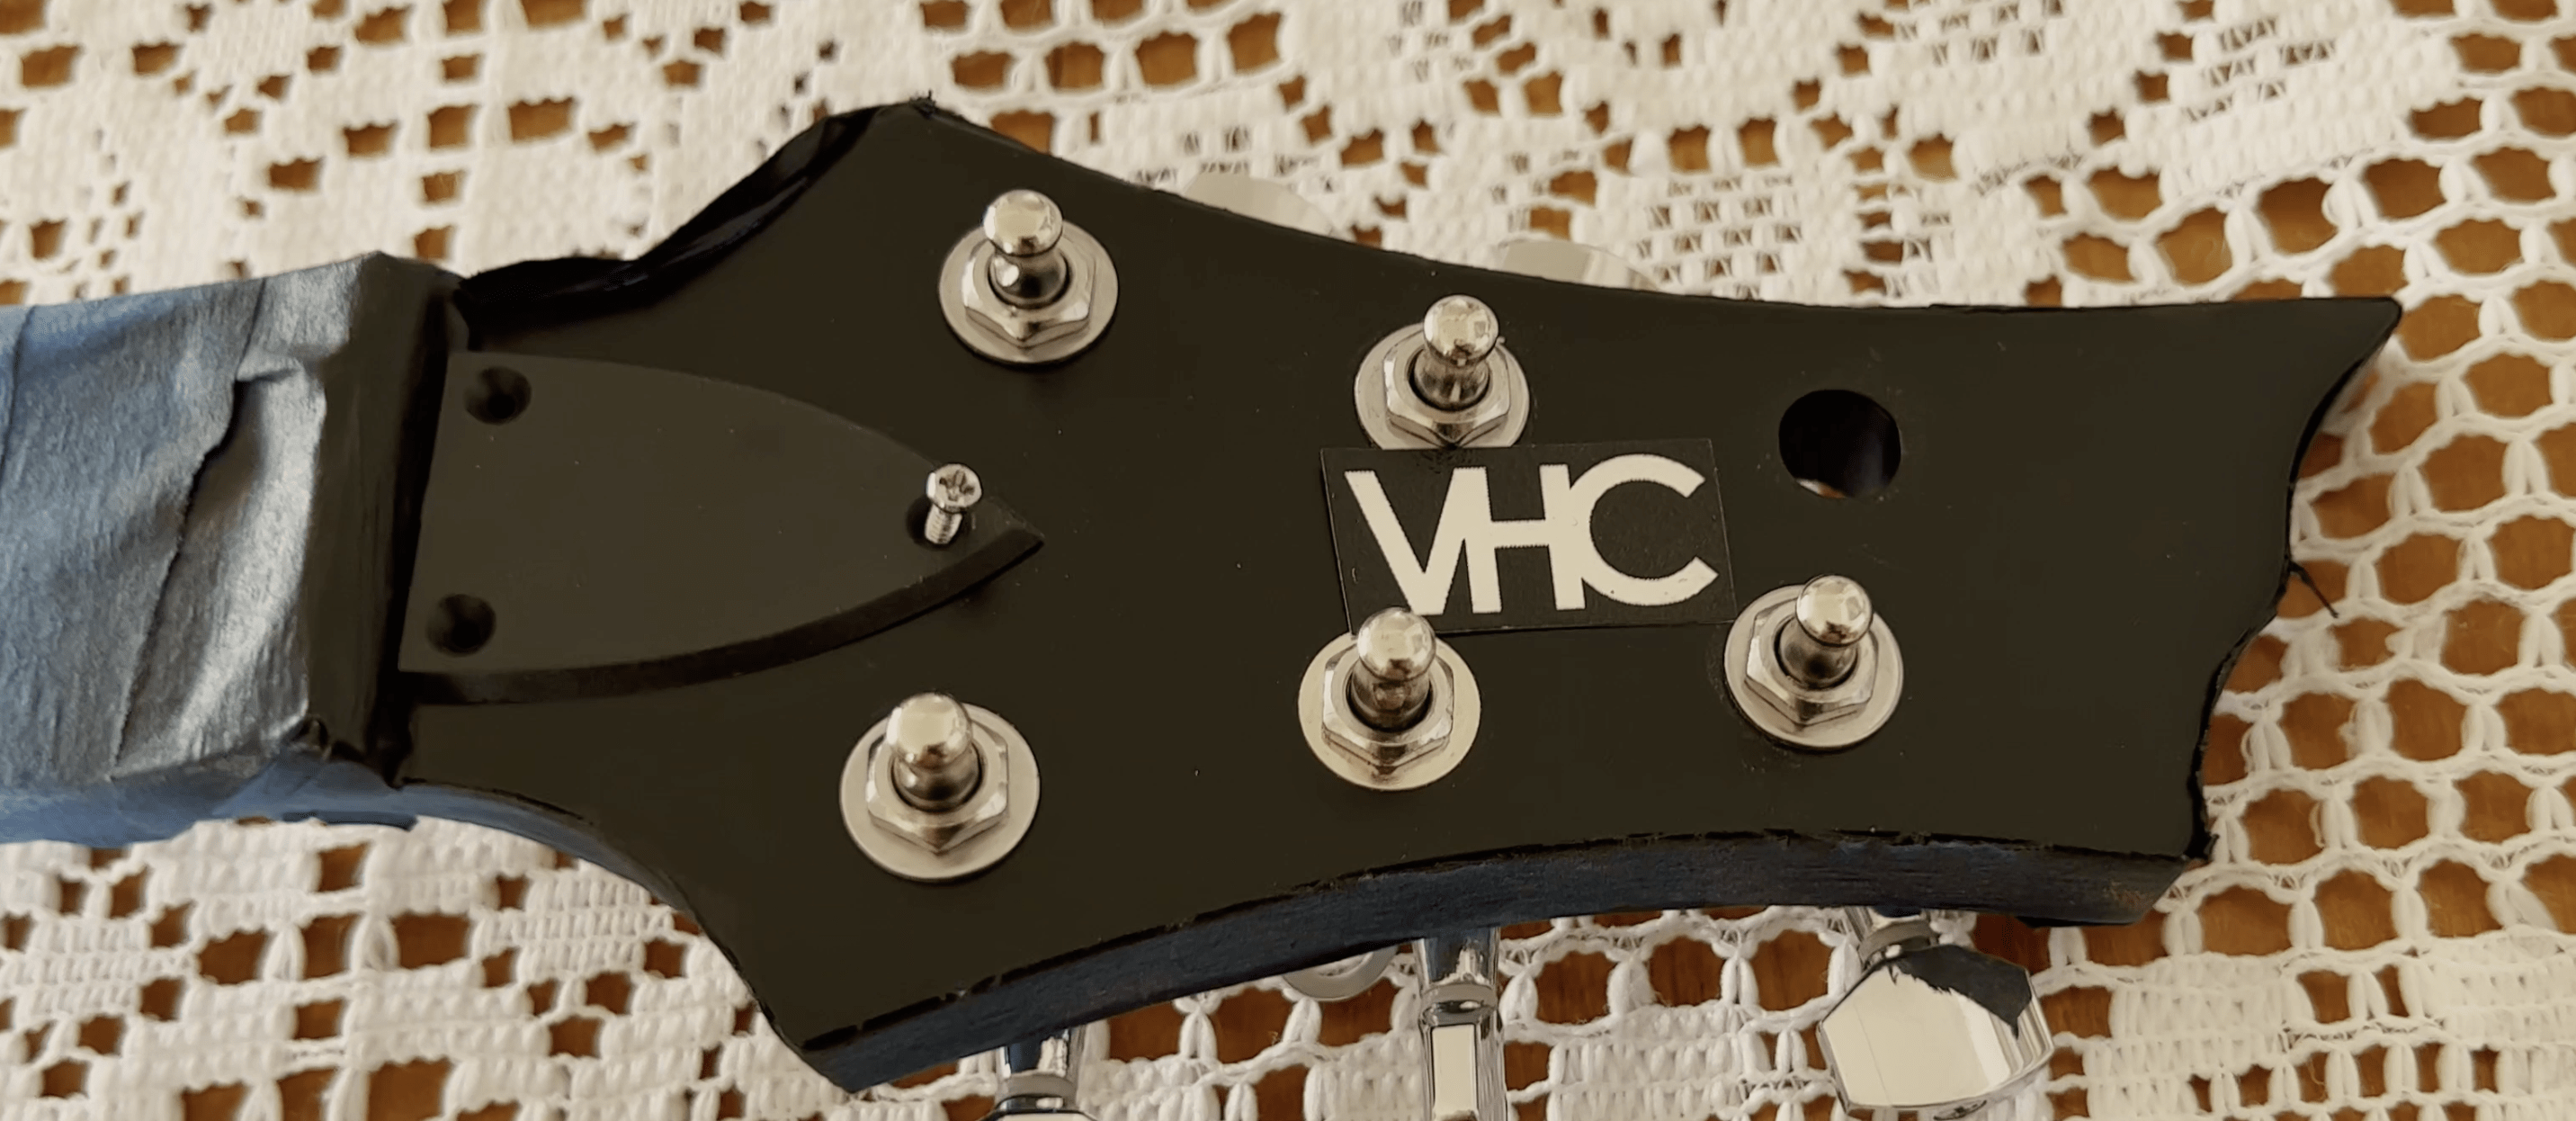
Now that the paint on the headstock had dried, I proceeded to work on the headstock logo. I printed a bunch of different-sized logos on a water decal. Basically, you cut out the logo, put it in water, and it should come off nicely for you to slide it on the headstock. After several failed attempts, I asked my wife (she’s great in crafts!) to help. She got it right with her first attempt. The logo blends well with the headstock, and it will look even better after I sprayed some clear coat on it.
Finish the finish!
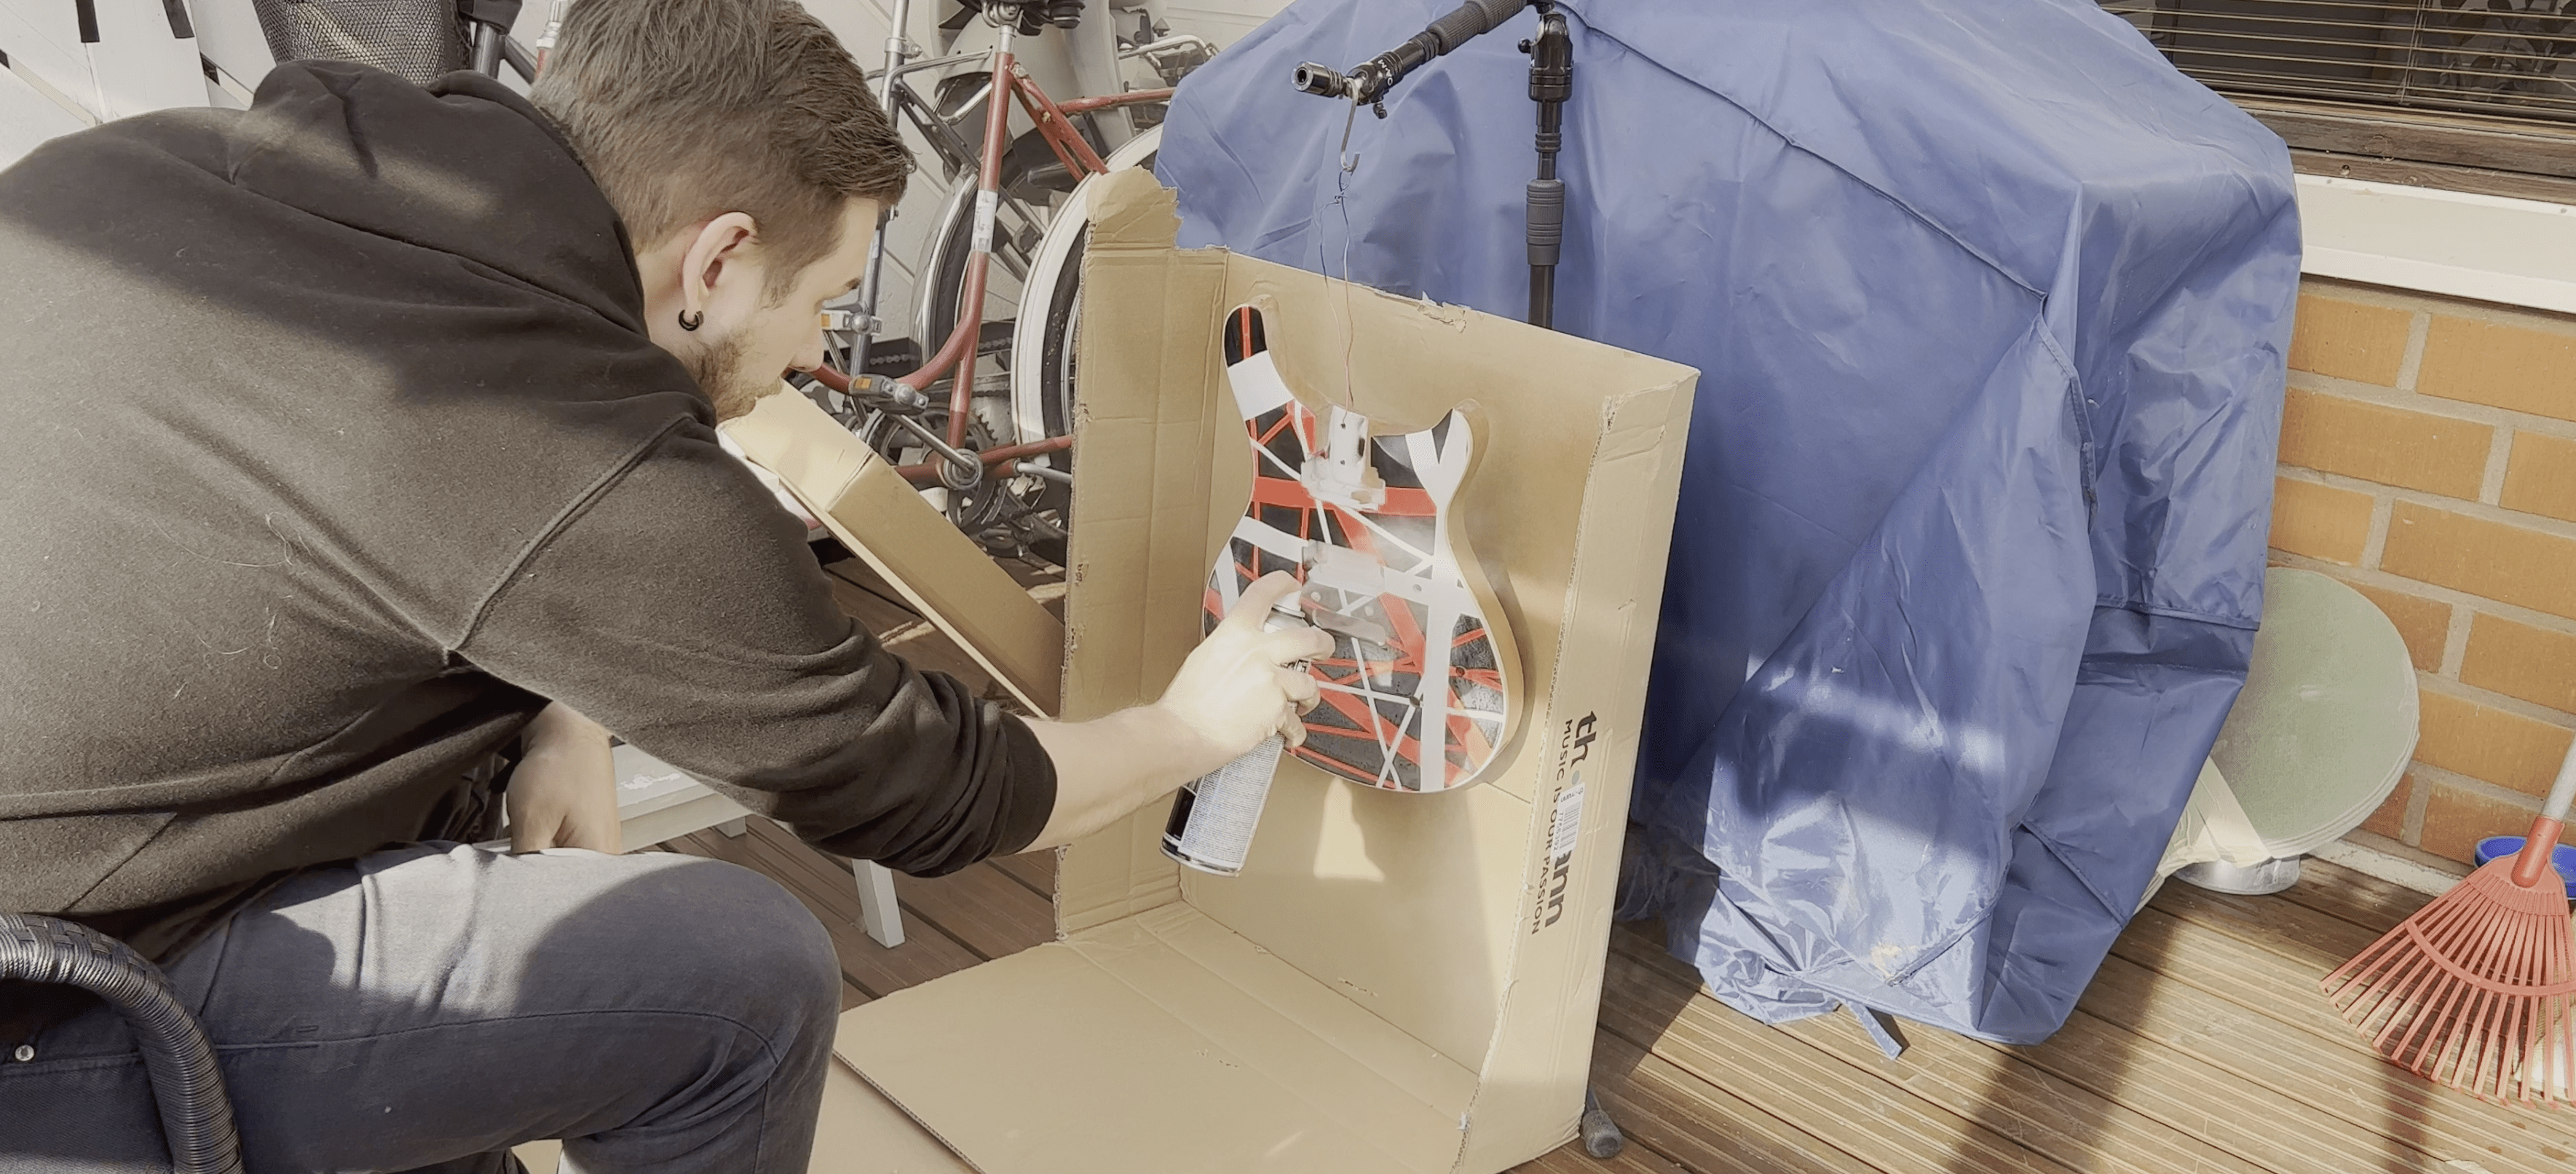
The rest of this project was done at home. I went through several cycles of sanding the guitar body, removing the lacquer dust from it, and spraying it with clear coat. We don’t have a spare room at our place, so all of this had to be done on our terrace.
I also used a black permanent marker to fix a few smaller details in the finish. When peeling off the masking tape we used to create the stripe design, some of the edges of black paint came off. This resulted in black stripes having pink edges here and there.
I also attempted applying some wood oil on the back of the neck. That didn’t go well because of the lacquer on the back of the neck. It didn’t absorb almost any of the oil, so I abandoned the idea.
I did several rounds of sanding and applying clear coat layers on the guitar body. This was quite challenging because I had to work on our terrace and try to protect my guitar from dust, bugs, and two kids. Also, on some days the weather was pretty cold, which made drying of the lacquer slow. On some days I would spray the clear coat layers outside and then quickly take the body inside so it dried properly. After several days, I finally had enough clear coat layers to start wet sanding.
Wet sanding?
As the name suggests, you take specialized sandpaper and water and use those to level a surface. On a guitar, this helps to get rid of scratches and the remains of the orange peel you might have. It feels weird to spray your guitar with water and then sand it, but the results are great. After repeating the process a few times, I had a much more level surface, and the whole guitar looked more ready. At least half of the time you spend on building your guitar is sanding. And when you’re nearing the end of your project, it’s easy to become impatient. I certainly did. But the more time you spend getting those corners and curves sanded properly, the better the result looks. My project had a deadline, so I was unable to fine-tune every single detail, as you can see in the photo below.
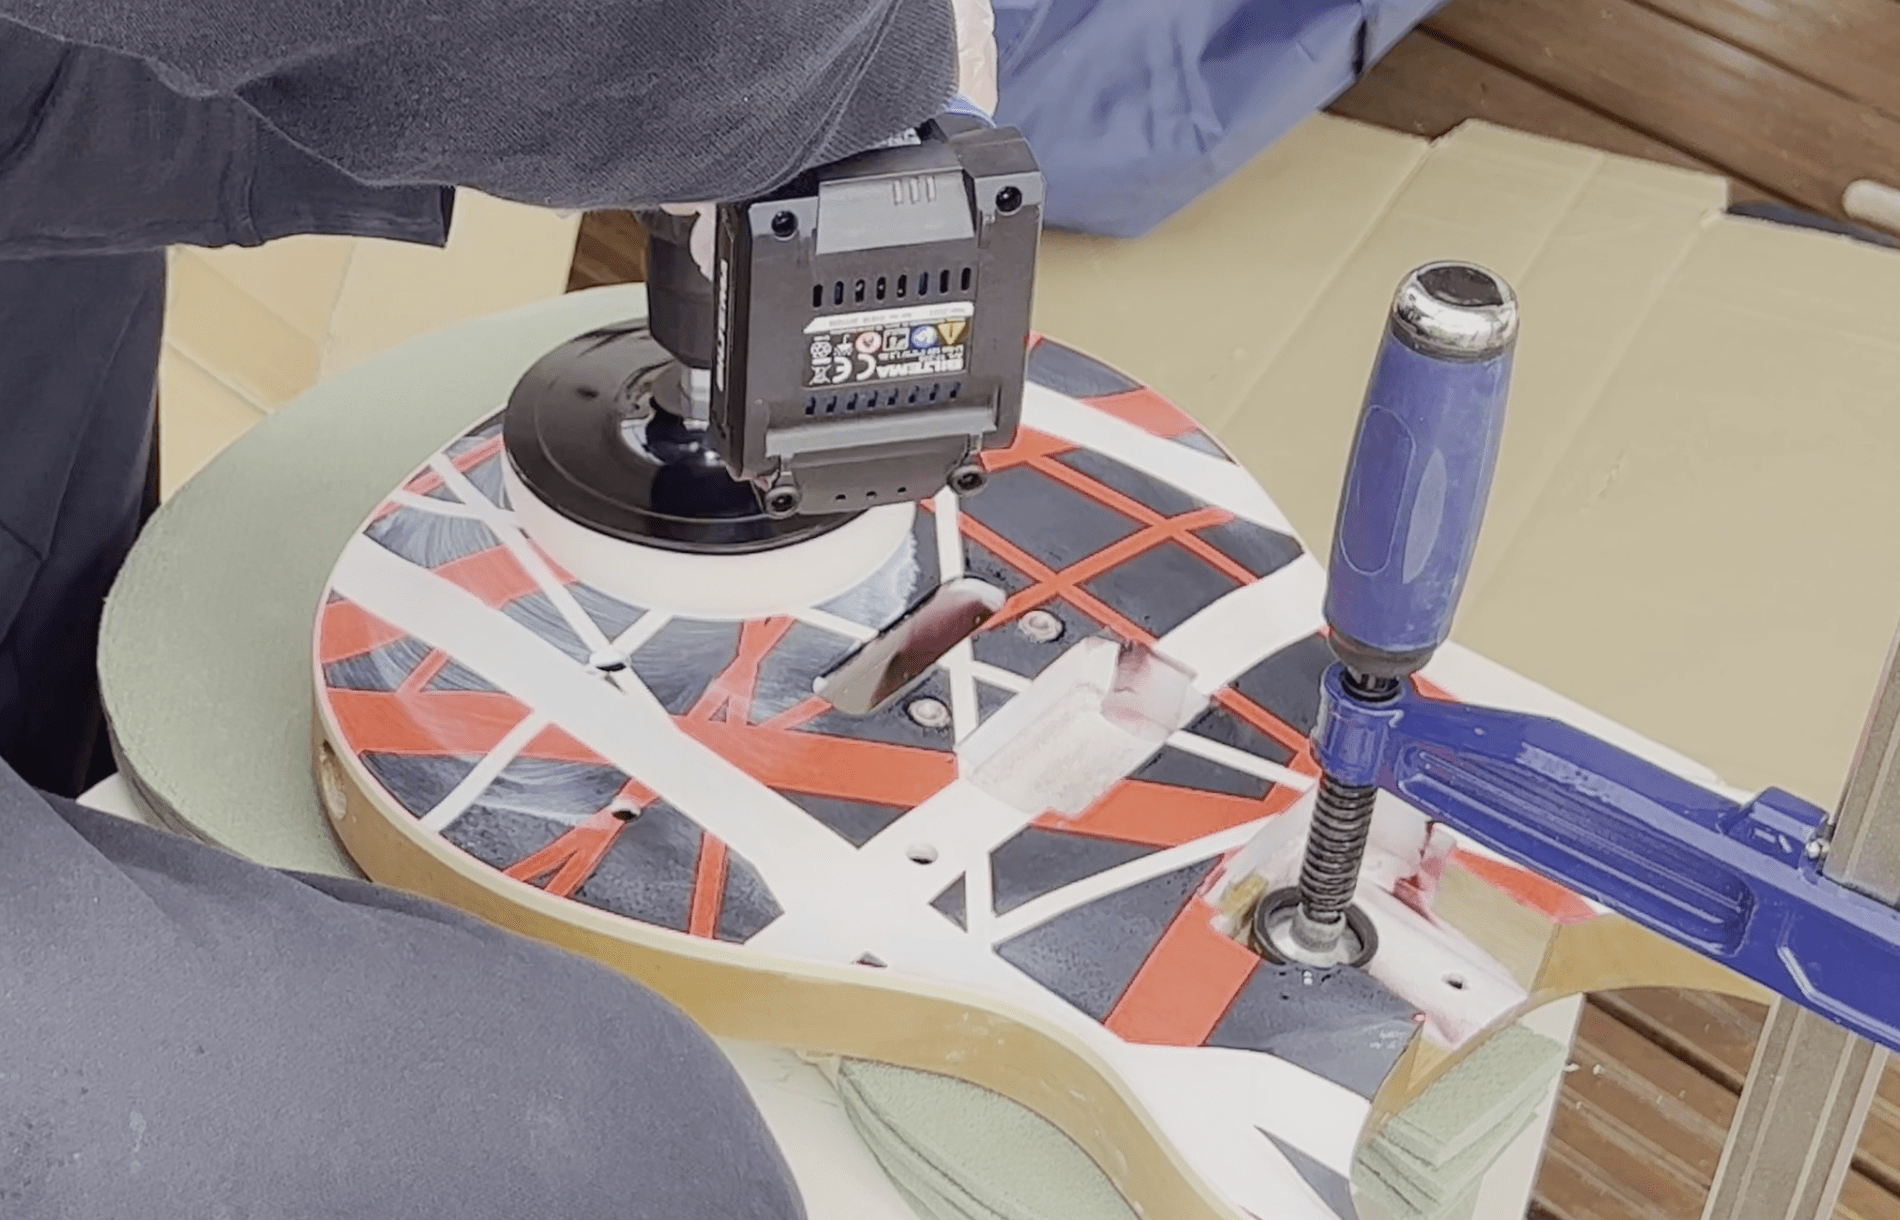
Polishing the guitar body
This was another thing I had done in a controlled environment (a luthier’s workshop) but now I had to do the same on my terrace. I got my drill, 2000 grit car polish, and this polish pad that attached to the drill.
At first, I tried to be careful and make sure I’m not damaging anything. But after wiping off some of the polish ‘paste’, I noticed the guitar body getting shinier, which made me happy. I polished the top of the headstock as well, but doing that made the lacquer on the headstock crack a bit. Luckily it just adds to the overall road-worn feel of the guitar.
Back of the guitar
Because of my time constraints, I left the back of the guitar unfinished. I’m actually looking forward to this guitar collecting all the belt buckles and scratches over time, giving it a road-worn feel.
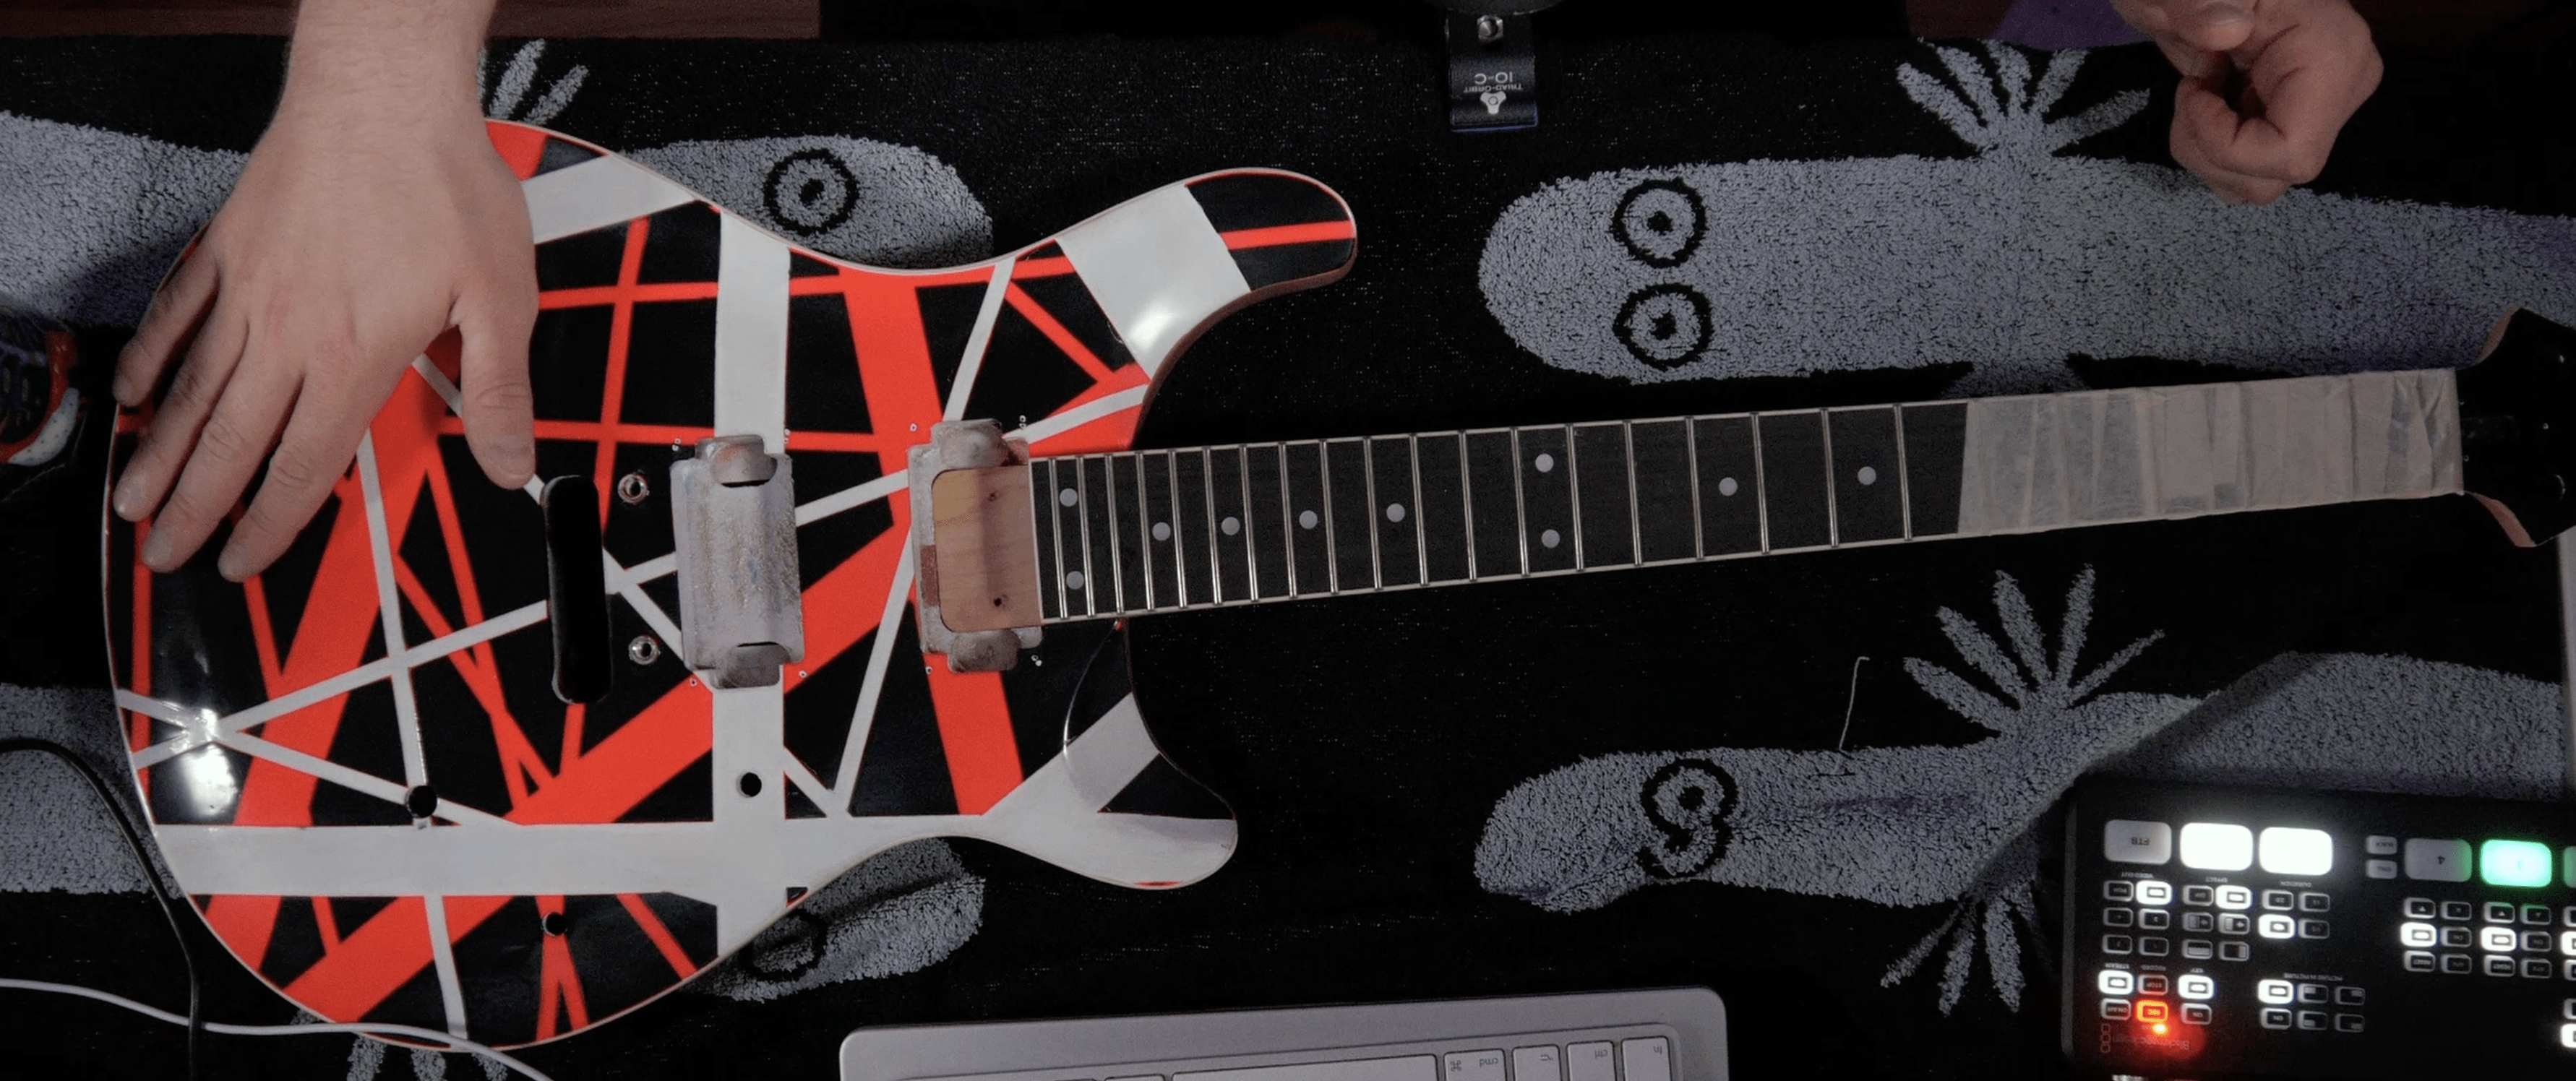
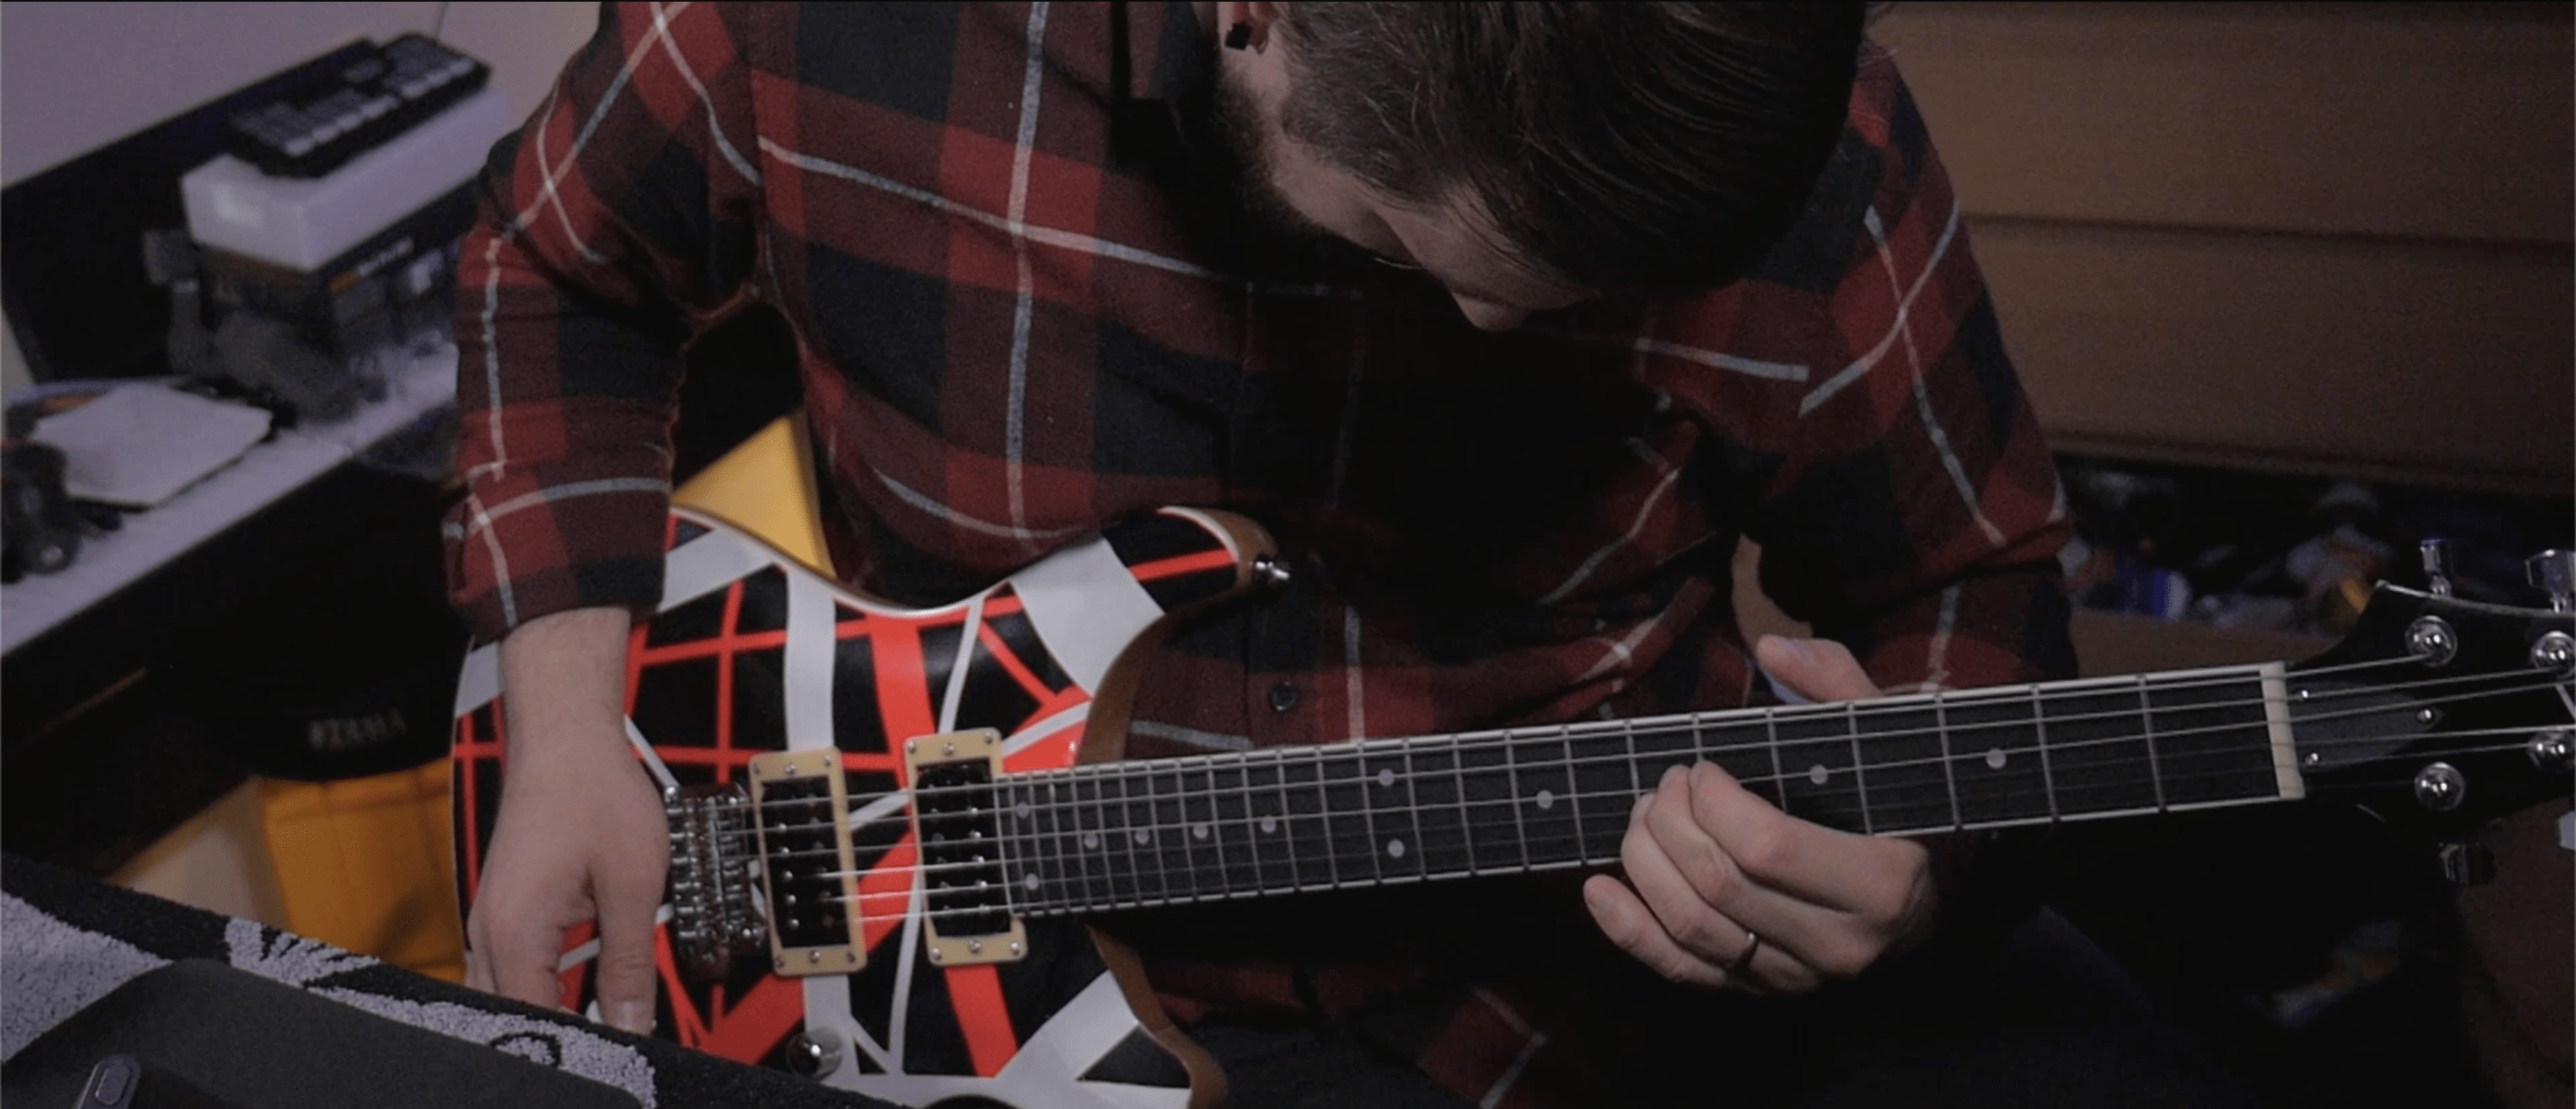
Final assembly
I had to pinch myself to make sure I was actually at the point where I get to assemble the guitar. The finish on the guitar isn’t perfect, but it’s good. And more importantly, it looks great on camera!
Before pairing the neck and the body, I took some time to polish the frets for better playability. After working on the neck for a while, I realized how dry the fretboard had been. I used Goby Labs fretboard conditioner on it, and suddenly it looked completely different.
There was some more dirt on the fretboard, so did another round of cleaning up. Then it was time to put on the tuners. After assembling all the parts of the guitar body, it was time to pair it with the neck. Putting the whole thing together with finished design was exciting. I got to see the real-life version of what I had designed for the first time.
Next, it was time to wire everything up and put the whole project together. It was quite a journey from receiving the guitar kit to coming up with the design, learning new DIY skills along the way, and finally having a guitar that (for better or for worse) is certainly unique.
As of writing this post in November 2023, I still haven’t done the modifications I planned. But actually, going back to this project made me excited to make this guitar play and sound great. We’ll see if this excitement leads to me doing something about it. But at least the guitar looks great on my studio’s wall!
If you’re interested acquiring your own Harley Benton DIY kit and support what I do, you can find affiliate links here:
►►Harley Benton DIY Kits: https://thmn.to/thocf/cq3g0p7wzj
Leave a Reply