If you’re new to recording acoustic guitar, getting started can feel overwhelming: Can I use the built-in pickup? Where to place the microphone? How do I get the best results when recording? In this article, we’ll answer those questions and more to help you get great recordings right from the start.
1. How To Record Acoustic Guitar With Your Phone

Learning how to record acoustic guitar with your phone has one clear benefit: it’s with you all the time. So, when inspiration strikes, you’ll be able to record the idea right away.
While I think it’s most important to just capture the idea, it never hurts if that recording also sounds good. That way when you play it back to your bandmates for example, the focus will be on the music itself and not the reverb filled room sound for example.
Start by placing your phone at a 45-degree angle roughly 10-15 cm from the sound hole of your acoustic guitar. Make sure the bottom part of your phone is facing the guitar, as that is where the phone’s microphone usually is.
To make sure you’re not capturing too much low-end information from the sound hole, turn the phone slightly towards the lower part of the neck joint. (see the photo above for the placement example)
2. How To Record Acoustic Guitar With Built-in Microphone
Many acoustic guitars come with some sort of pickup system, making recording easier. Just plug in your instrument cable into the guitar the other end to your audio interface.
While recording acoustic guitar this way is easy, the end result will vary a lot depending on the quality of your built-in-pickup. My Taylor 110e for example has something called piezo pickup in it and while those pickup systems are affordable and decent sounding, their sound is different from what your guitar sounds in the room.
In my experience piezo sounds work great in live situations but can sometimes sound too nasal when recorded. There are workarounds to make those sound better, but were going to take a look at that process in a different post.
3. How To Record Acoustic Guitar With A Single Microphone
If you have just one microphone at your disposal, we’re going to do the same thing we did with a phone: point that microphone to the lower part of your acoustic guitar where the neck joins the body. Have the microphone 10cm or so away from the guitar body at a 45-degree angle.
Record a take, listen to how the guitar sounds and make the necessary adjustments: if the sound is bass heavy and dark, you might want to turn the microphone slightly more away from the sound hole. Or if it’s too bright, do the opposite.
4. How To Get The Best Results When Recording Acoustic Guitar
When recording acoustic guitar with real microphones, in order to get the best results, I recommend using the acronym R.L.R (Record, Listen, Repeat).
Acoustic guitars are by design loud instruments, so when you’re recording yours, it’s impossible to hear how the recording actually sounds. Even if you’re using headphones or in-ear monitors, there’s still some of the acoustic guitars sound bleeding into what you’re hearing, and it can affect your sound choices.
The most reliable way to get the best results is to record your track first, listen back to it, make the desired adjustments to your microphone placement for example, and then record and listen to it again.
It is a lot of work the first time you’re doing it, but once I found the recording setup I was happy with, any time I want to record my acoustic guitar I know how to set up my microphones without having to do any kind of testing again.
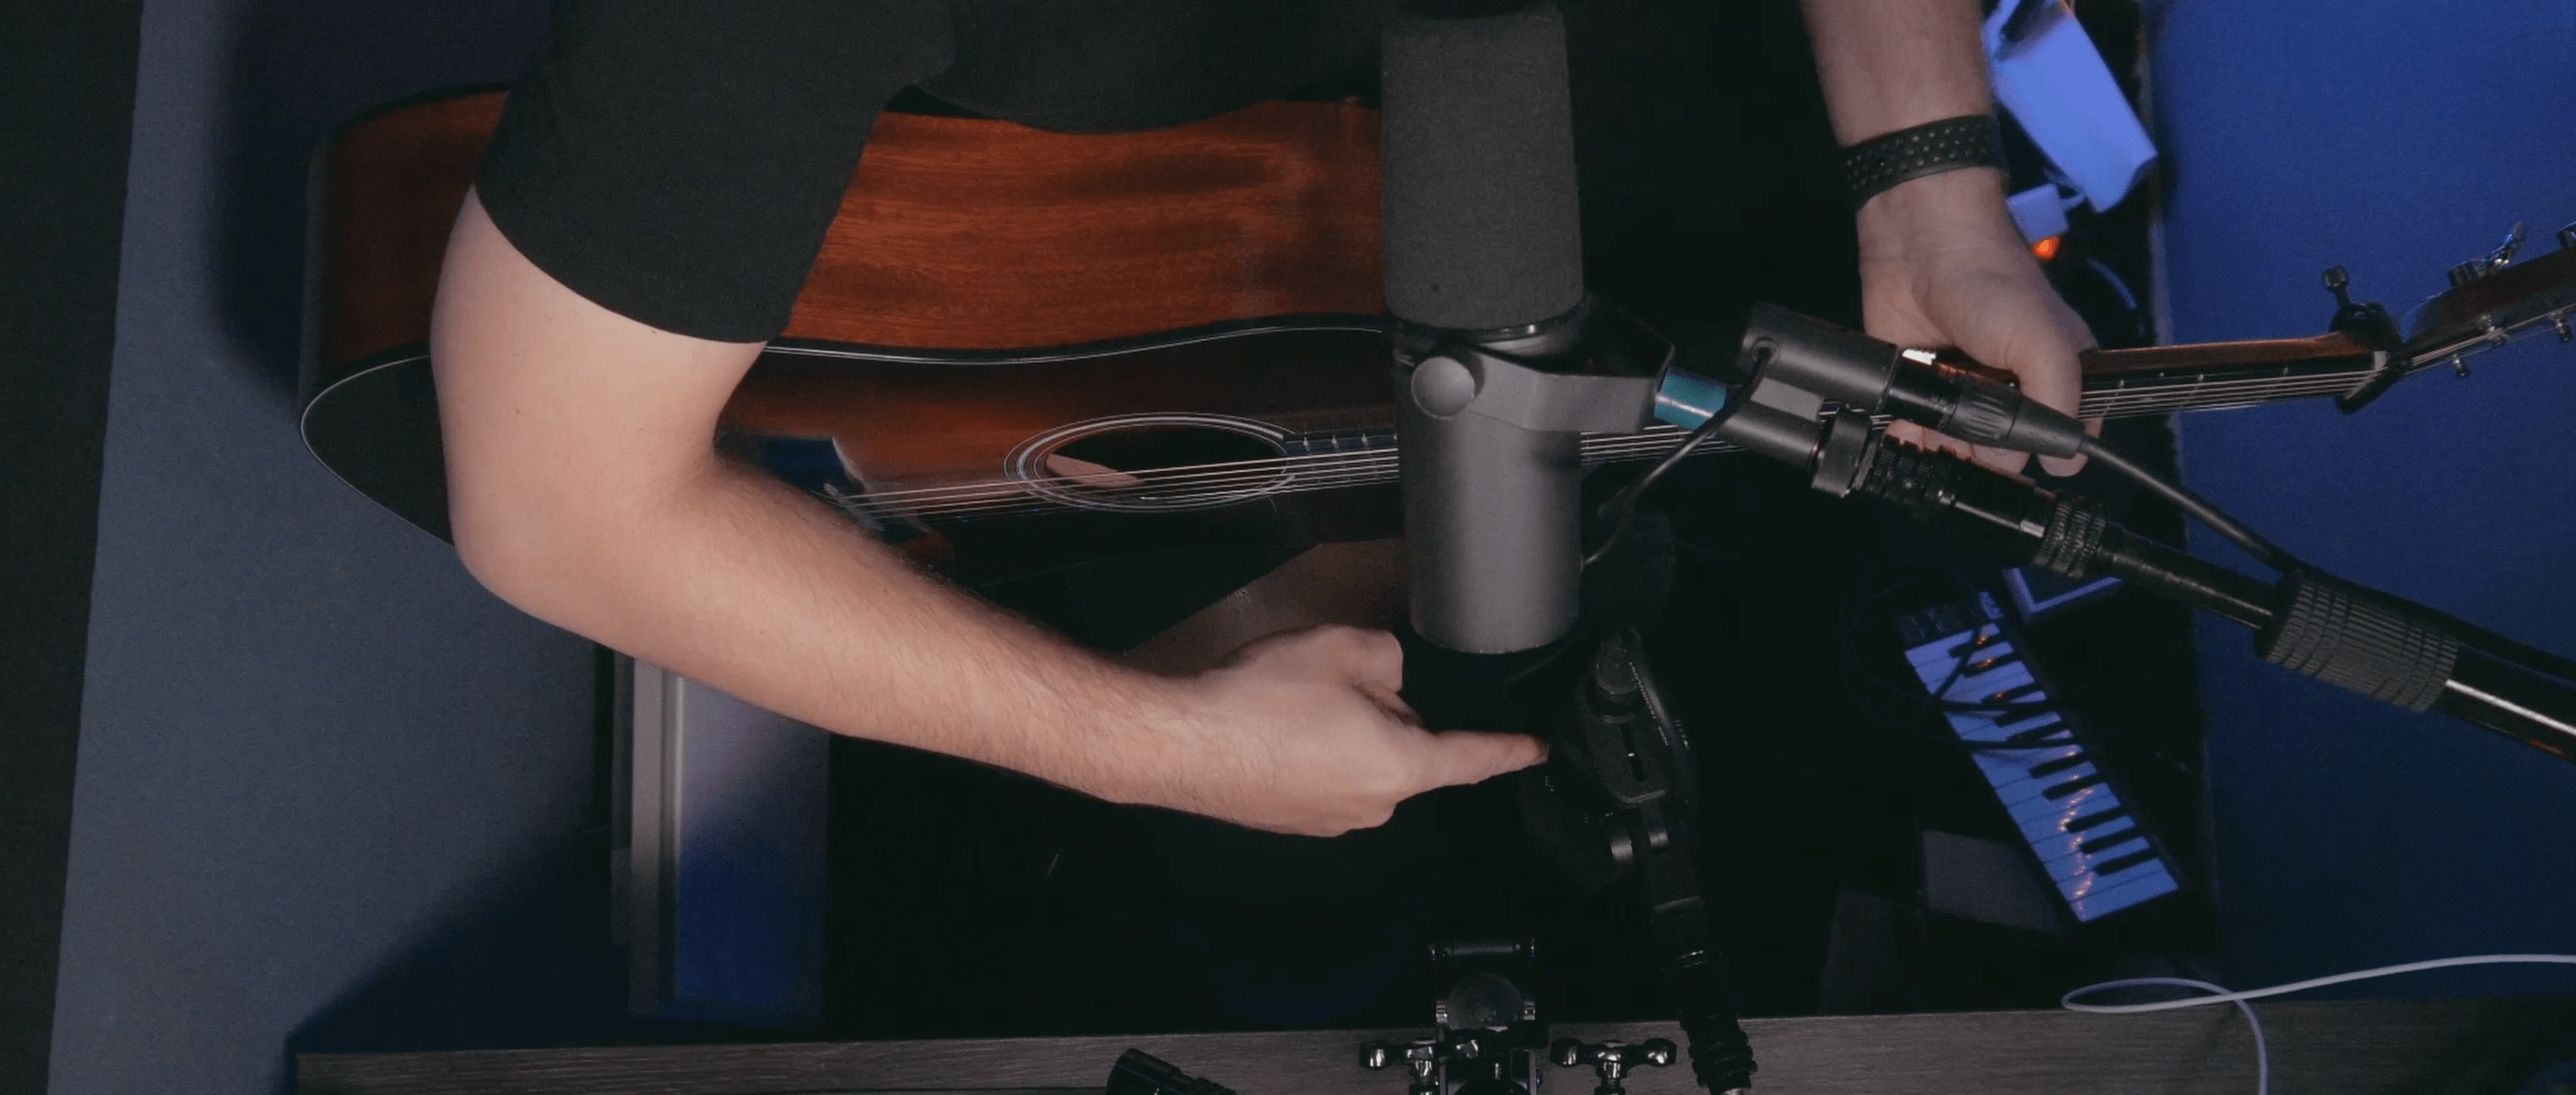
5. How And Why You Should Record Acoustic Guitar With Two Microphones

While you can get great results recording your acoustic guitar with just one microphone, you can capture more details of your guitar’s sound by using two microphones. One of the more popular ways is to use one microphone to capture the high end of the guitar and the other one to capture the body.
Basically, we keep the first microphone we already had it and point the second microphone (SM58 in the video) at an angle towards the bridge.
This way we capture two different aspects of our acoustic’s sound that we can then mix to taste. To do that though, we need to make sure our tracks are in phase.
6. What Is Phase And What Do Phase Issues Mean?
When you are recording with more than one microphones, it is very unlikely that the sound will arrive to all those microphones exactly at the same time. And if the difference between different microphones’ signal is big enough, you might hear your overall sound getting thin and have weird frequencies being prominent in the overall sound.
This happens because some of the frequencies are starting to cancel each other out and other frequencies become more prominent.
7. How To Fix Phase Issues?
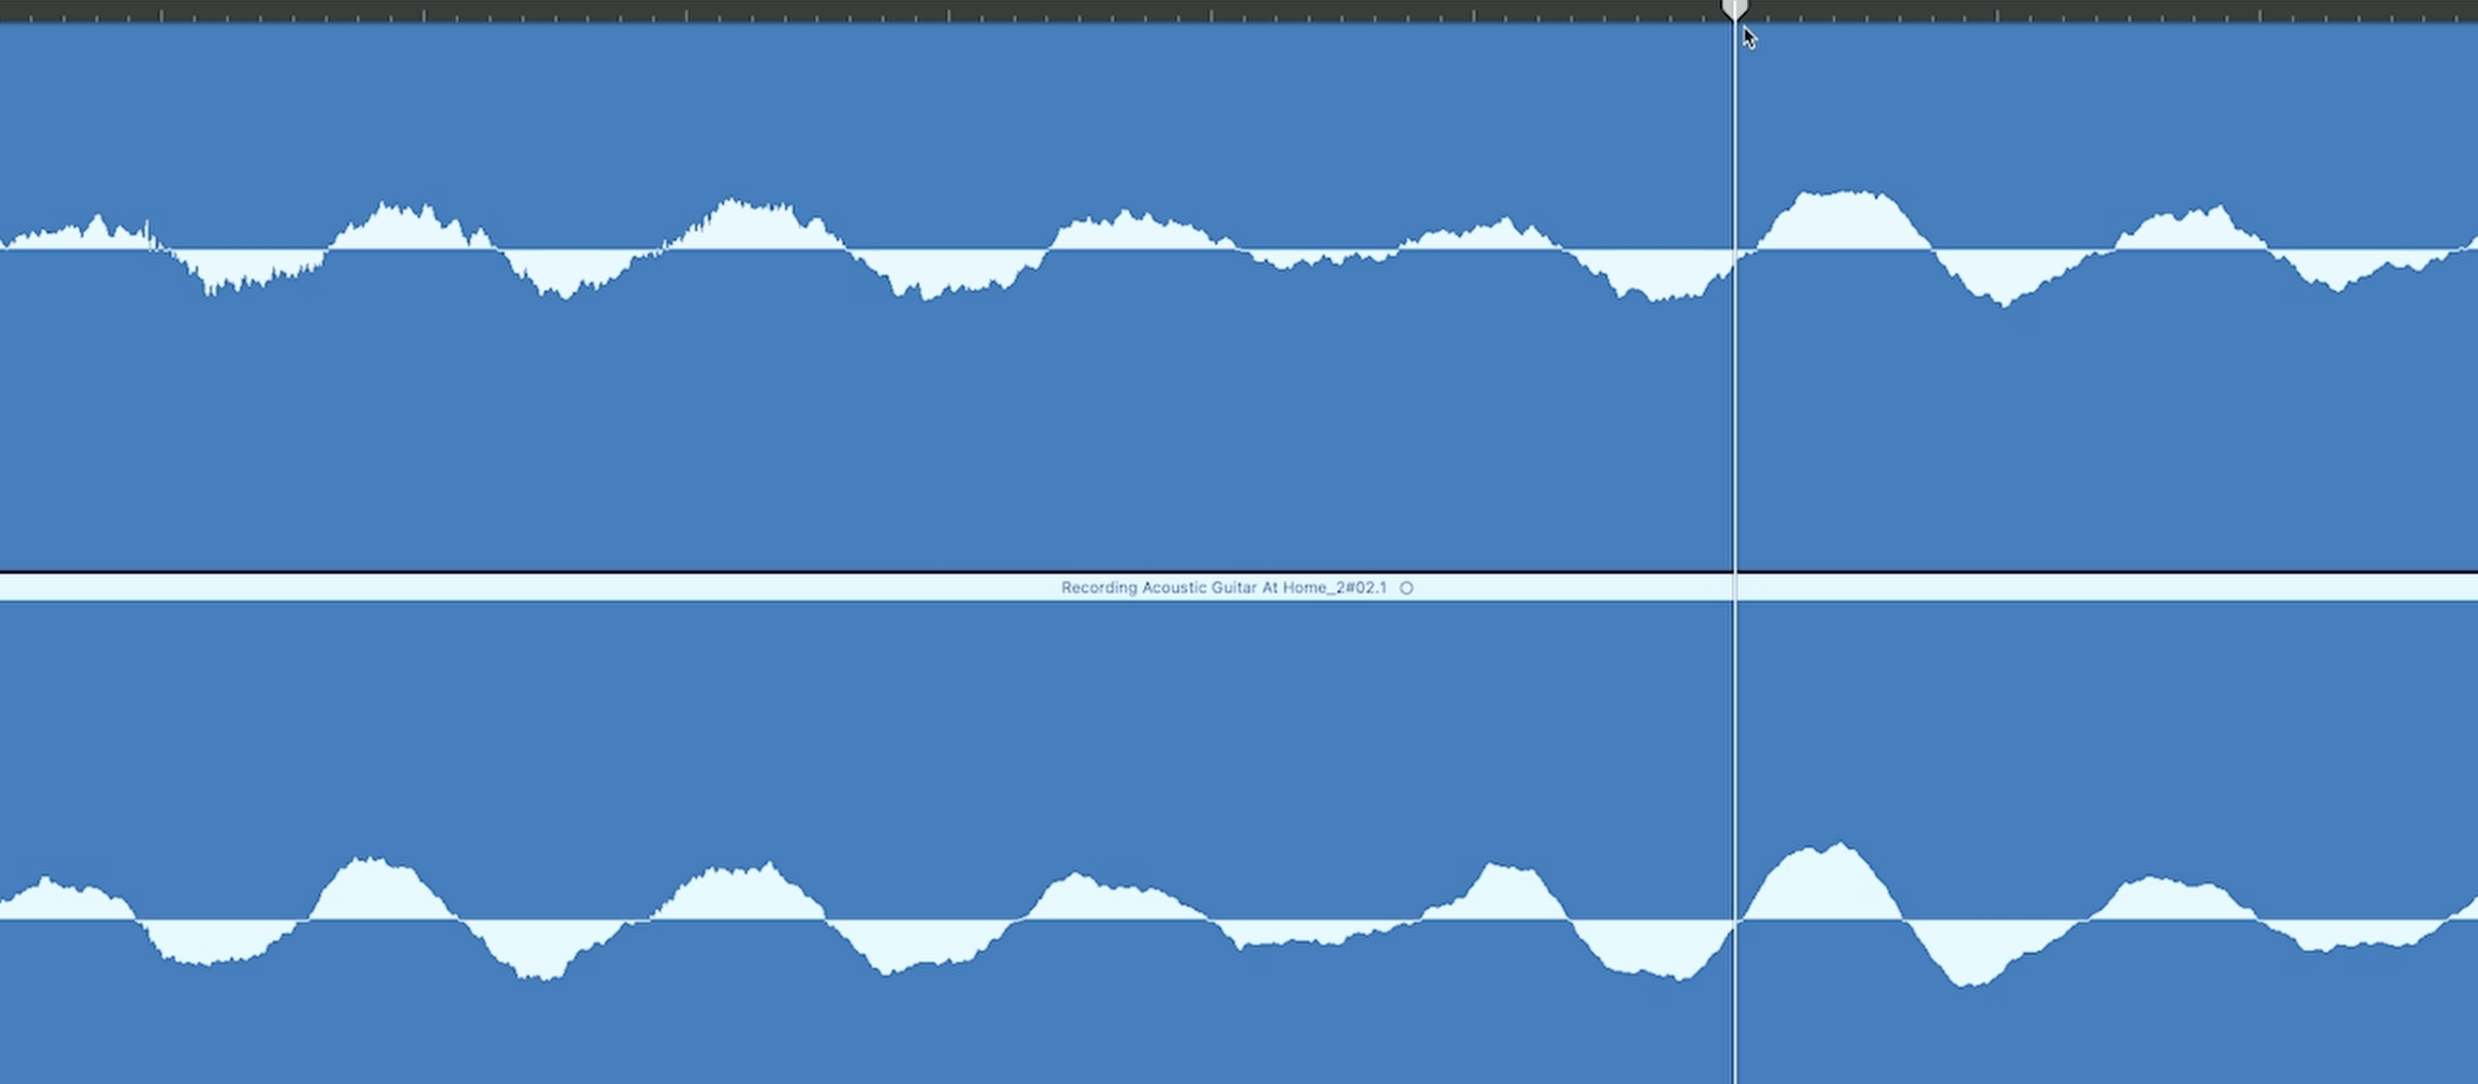
Open your DAW you used to record your tracks and zoom in on the tracks that sound ‘out of phase’. I recommend zooming in enough so you can see the soundwave getting ‘inverted’ and compare it to the second track you’re working on. Putting the playhead on one of those ‘inversion’ points and comparing it to the other track’s inversion point allows you see if the tracks are in phase. If they are not, move one of the tracks so their wave patter matches, and your tracks are now in phase. If they are a mirror image of each other, you should flip the phase of one of those tracks.
In the video you can hear what I’m capturing with both microphones and how they sound together. I’ll also demonstrate how panning those two microphones left and right sounds.
8.-10. On picks and strumming technique
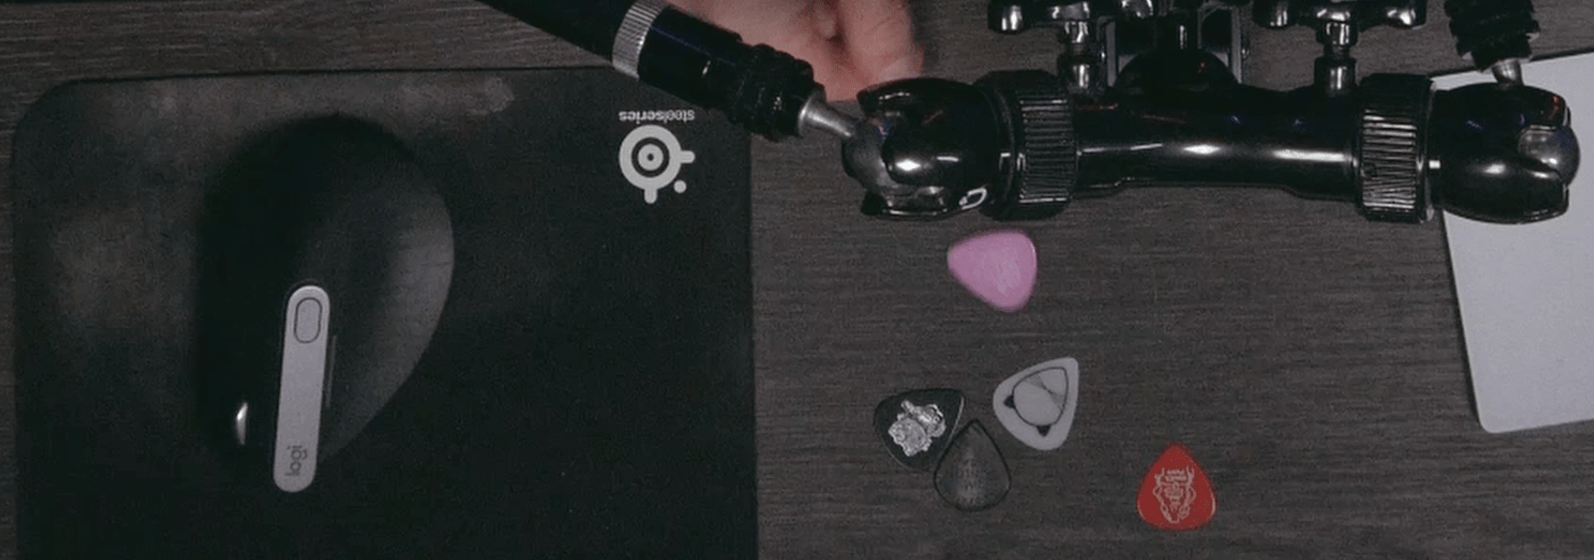
Acoustic guitar is a very dynamic instrument and things like using different picks can make a big difference both in the sound but also the consistency of your playing.
For example, I like to strum my acoustic guitar with broad motions and at first, I was trying to use the CatPick Studios pick use with electric guitar. However, I kept hitting the strings too hard with it and it resulted in undesirable buzz and extra noise.
Instead of trying to adapt my strumming to the CatPick pick, I went through a bunch of picks I had and ended up with a thin pink 0.72mm nylon pick that allows me to keep strumming with those broad motions but without the string buzz.
This experience led me to starting to pay more attention to my strumming hand and the consistency of those strums. After several years I feel I’ve become pretty good at playing at a consistent volume not only when strumming, but alternate picking and fingerpicking as well.
I also started experimenting with using different picks to achieve specific acoustic guitar tones. Sometimes a darker sounding pick works great on the recording and switching to a bright pick, that’s thinner allows me to compensate me getting excited and strumming too hard playing live, while also cutting through the mix better because of the brighter tone.
Some of these differences might be subtle, but when you start stacking up bunch of them, the end result is (to me at least) better.
R.L.R
If there’s one thing for you to take from this tutorial, it is that in order to get better at recording acoustic guitar you should start right away. Record, listen and repeat. And if you get stuck on something and can’t figure it out, drop your question below and we’ll figure it out together.
If you’re interested acquiring acoustic guitar recording gear and support what I do, you can find affiliate links here:
►►Download My POD GO Acoustic Patch And The Jam Track: https://www.catpickstudios.com/
►►Get The Gear Used In This video (affiliate): https://thmn.to/thocf/gn9w8z2ksk
Leave a Reply