You always need more pedals, right?
Disclaimer: Some of the gear used in this post/video was provided by the manufacturers. However, none of the companies represented here asked for me to do this video nor do they get to see the video / post before it is published.
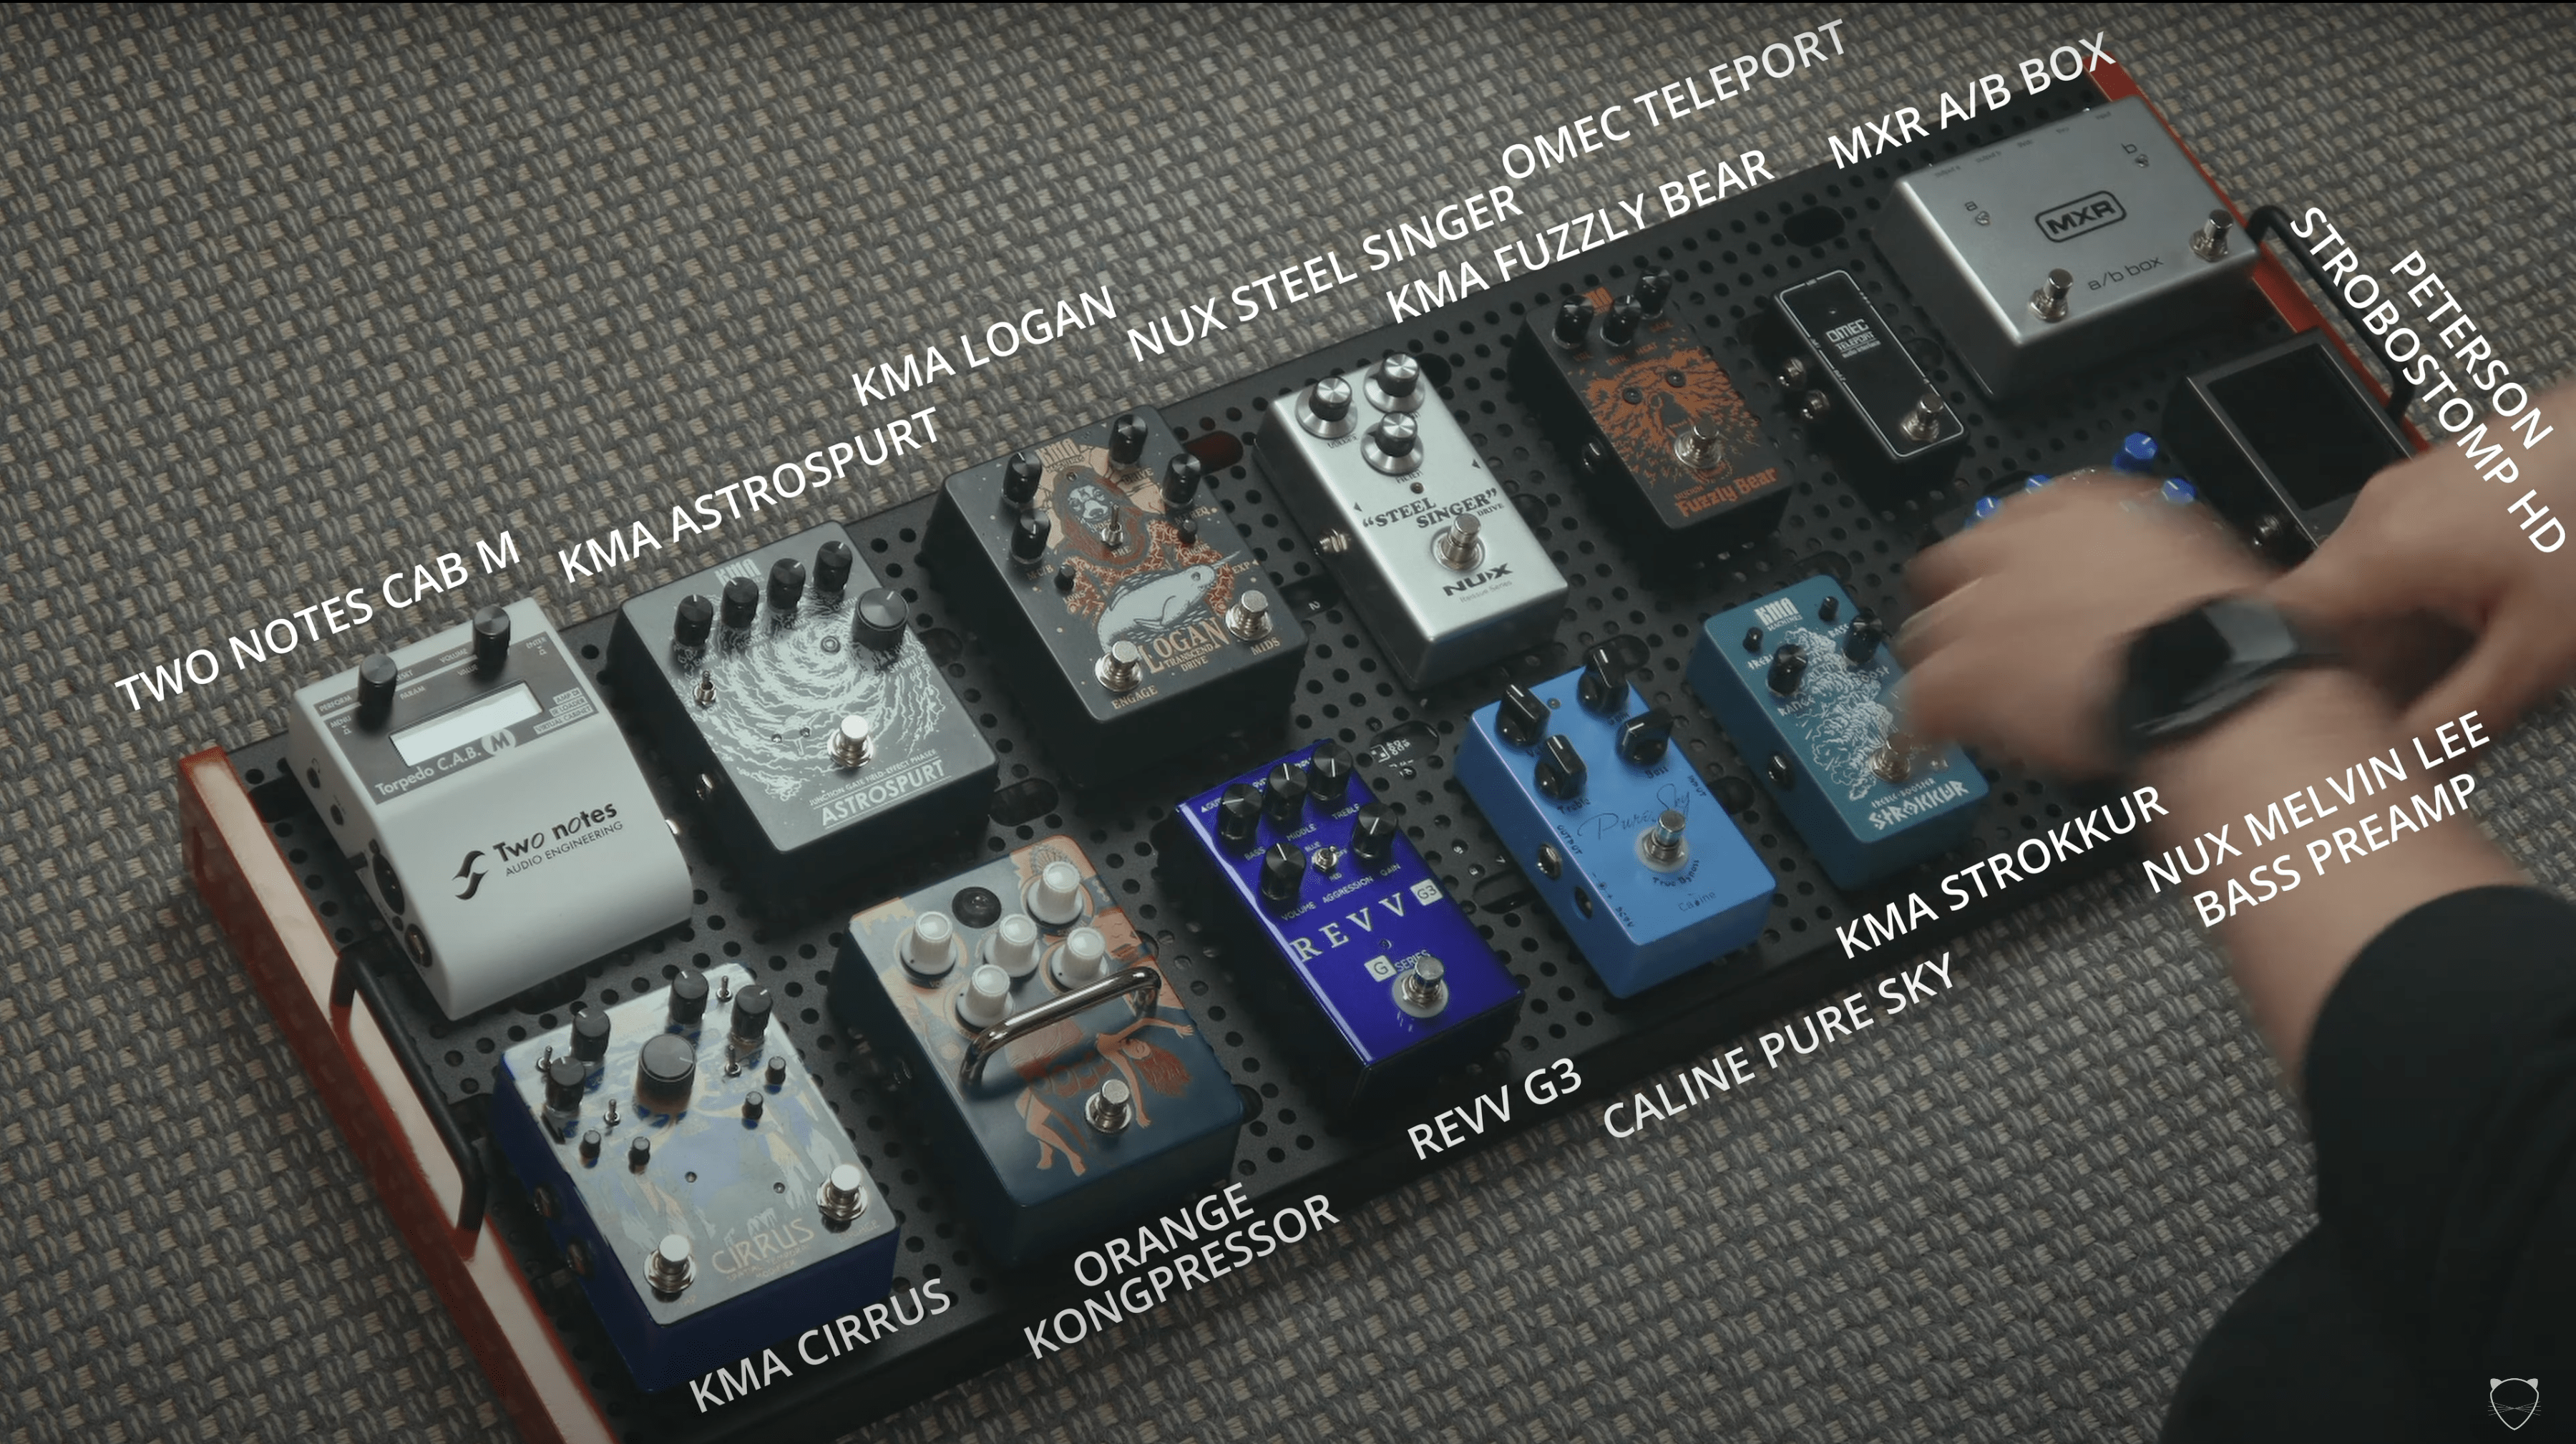
Full list of the gear used
- Temple Audio Design Duo 34 GM
- Cioks DC7
- Two Notes Torpedo CAB M+
- KMA Audio Machines Cirrus Delay & Reverb
- KMA Audio Machines Logan Overdrive
- KMA Audio Machines Astrospurt Phaser
- KMA Audio Machines Strokkur
- KMA Audio Machines Fuzzly Bear
- Caline Pure Sky Overdrive
- NUX Steel Singer Overdrive
- Orange Kongpressor
- REVV G3
- NUX Melvin Lee Davis Bass Preamp
- MXR M 196 A/B Box
- Peterson Strobostomp HD
- Omec Teleport
Why am I building a New pedalboard?
First: building a pedalboard is so much fun.
Also: I wanted to have more pedals ready to go when inspiration hits. Nothing kills creativity more than having to spend 10-30 minutes figuring out where my favorite fuzz or delay is, then searching for a power cable and trying to find a slot for those on my board. The main idea is to be able to hit record as fast as possible, whether I’m recording electric guitar, bass, or acoustic guitar.
And because this is going to be purely a studio board, I don’t have to worry about how practical moving this around would be.
Attaching The Power Supply
I chose the Temple Audio board because I knew it would be incredibly light yet sturdy. Its design also allows me to run the patch & power cables in any way I want, which should result in a very clean pedalboard.
My initial plan was to have the power supply (Cioks DC-7) underneath the pedalboard where the middle rail is. But because there was no way to run the power cable cleanly, I had to come up with some other solution. I decided to attach the power supply to the middle rail underneath the pedalboard. Then I ran the power cable from one of the side ‘hatches’ of the pedalboard. I like to keep my cable runs as clean as possible, so this was a decent start.
What is the pedal order?
This is where things started to get challenging: The signal chain on my board is going to be ‘linear’ so I must consider every possible scenario I might use this board for. After about 371 iterations, here’s the signal chain I ended up with:
Guitar ->
MXR A/B Box – This where I plug in. Using the splitter box, I can always record both the guitar signal, but also capture DI signal for reamping. The split box has 3 outputs, one of them being a Thru-output. So my plan is to use that output and always go to a tuner.
Omec Teleport – This thing makes reamping super easy. I can just run a USB cable from my computer into the Teleport, connect one patch cable to its output and boom, I have a reamping rig ready to go.
NUX Melvin Lee Davis Bass Preamp – I’m not recording bass that often, so it made sense to just keep the pedal on the board without wiring it at all. If I want to use any of my drive pedals with it, I can just run a cable from a drive pedal’s output into the bass preamp.
All the other pedals – Then it’s drive pedal time. I start with the KMA Fuzzly Bear fuzz -> KMA Strokkur Boost -> NUX Steel Singer Overdrive -> Caline Pure Sky Overdrive -> KMA Logan Overdrive -> REVV G3 Distortion -> Orange Kongpressor -> KMA Astrospur Phaser -> KMA Cirrus Delay/Reverb.
I also place a Two Notes CAB M on the board to use it with an acoustic guitar as an IR loader. Or might also sometimes even use it as an amp simulator, as it has some great amps built into it.
I’m happy with the layout and I love that there’s a lot of space in case I want to swap the pedal order or change the signal routing.
Putting the board together
Next, it was time to attach the pedals to the board using Velcro. I specifically went with Velcro just because I know I would be swapping the pedals every now and then. Once the pedals were in place, I started wiring the power cables from the Cioks DC-7.
While the DC-7 has plenty of outputs, I still had to daisy-chain a few of the pedals just because of the sheer number of overdrives I had. I don’t think this will become an issue though as most of my pedals are well-made and interference-free.
Just to be sure though, I did give most of my modulation pedals an individual isolated power output from the DC-7 to make sure none of them were causing any issues.
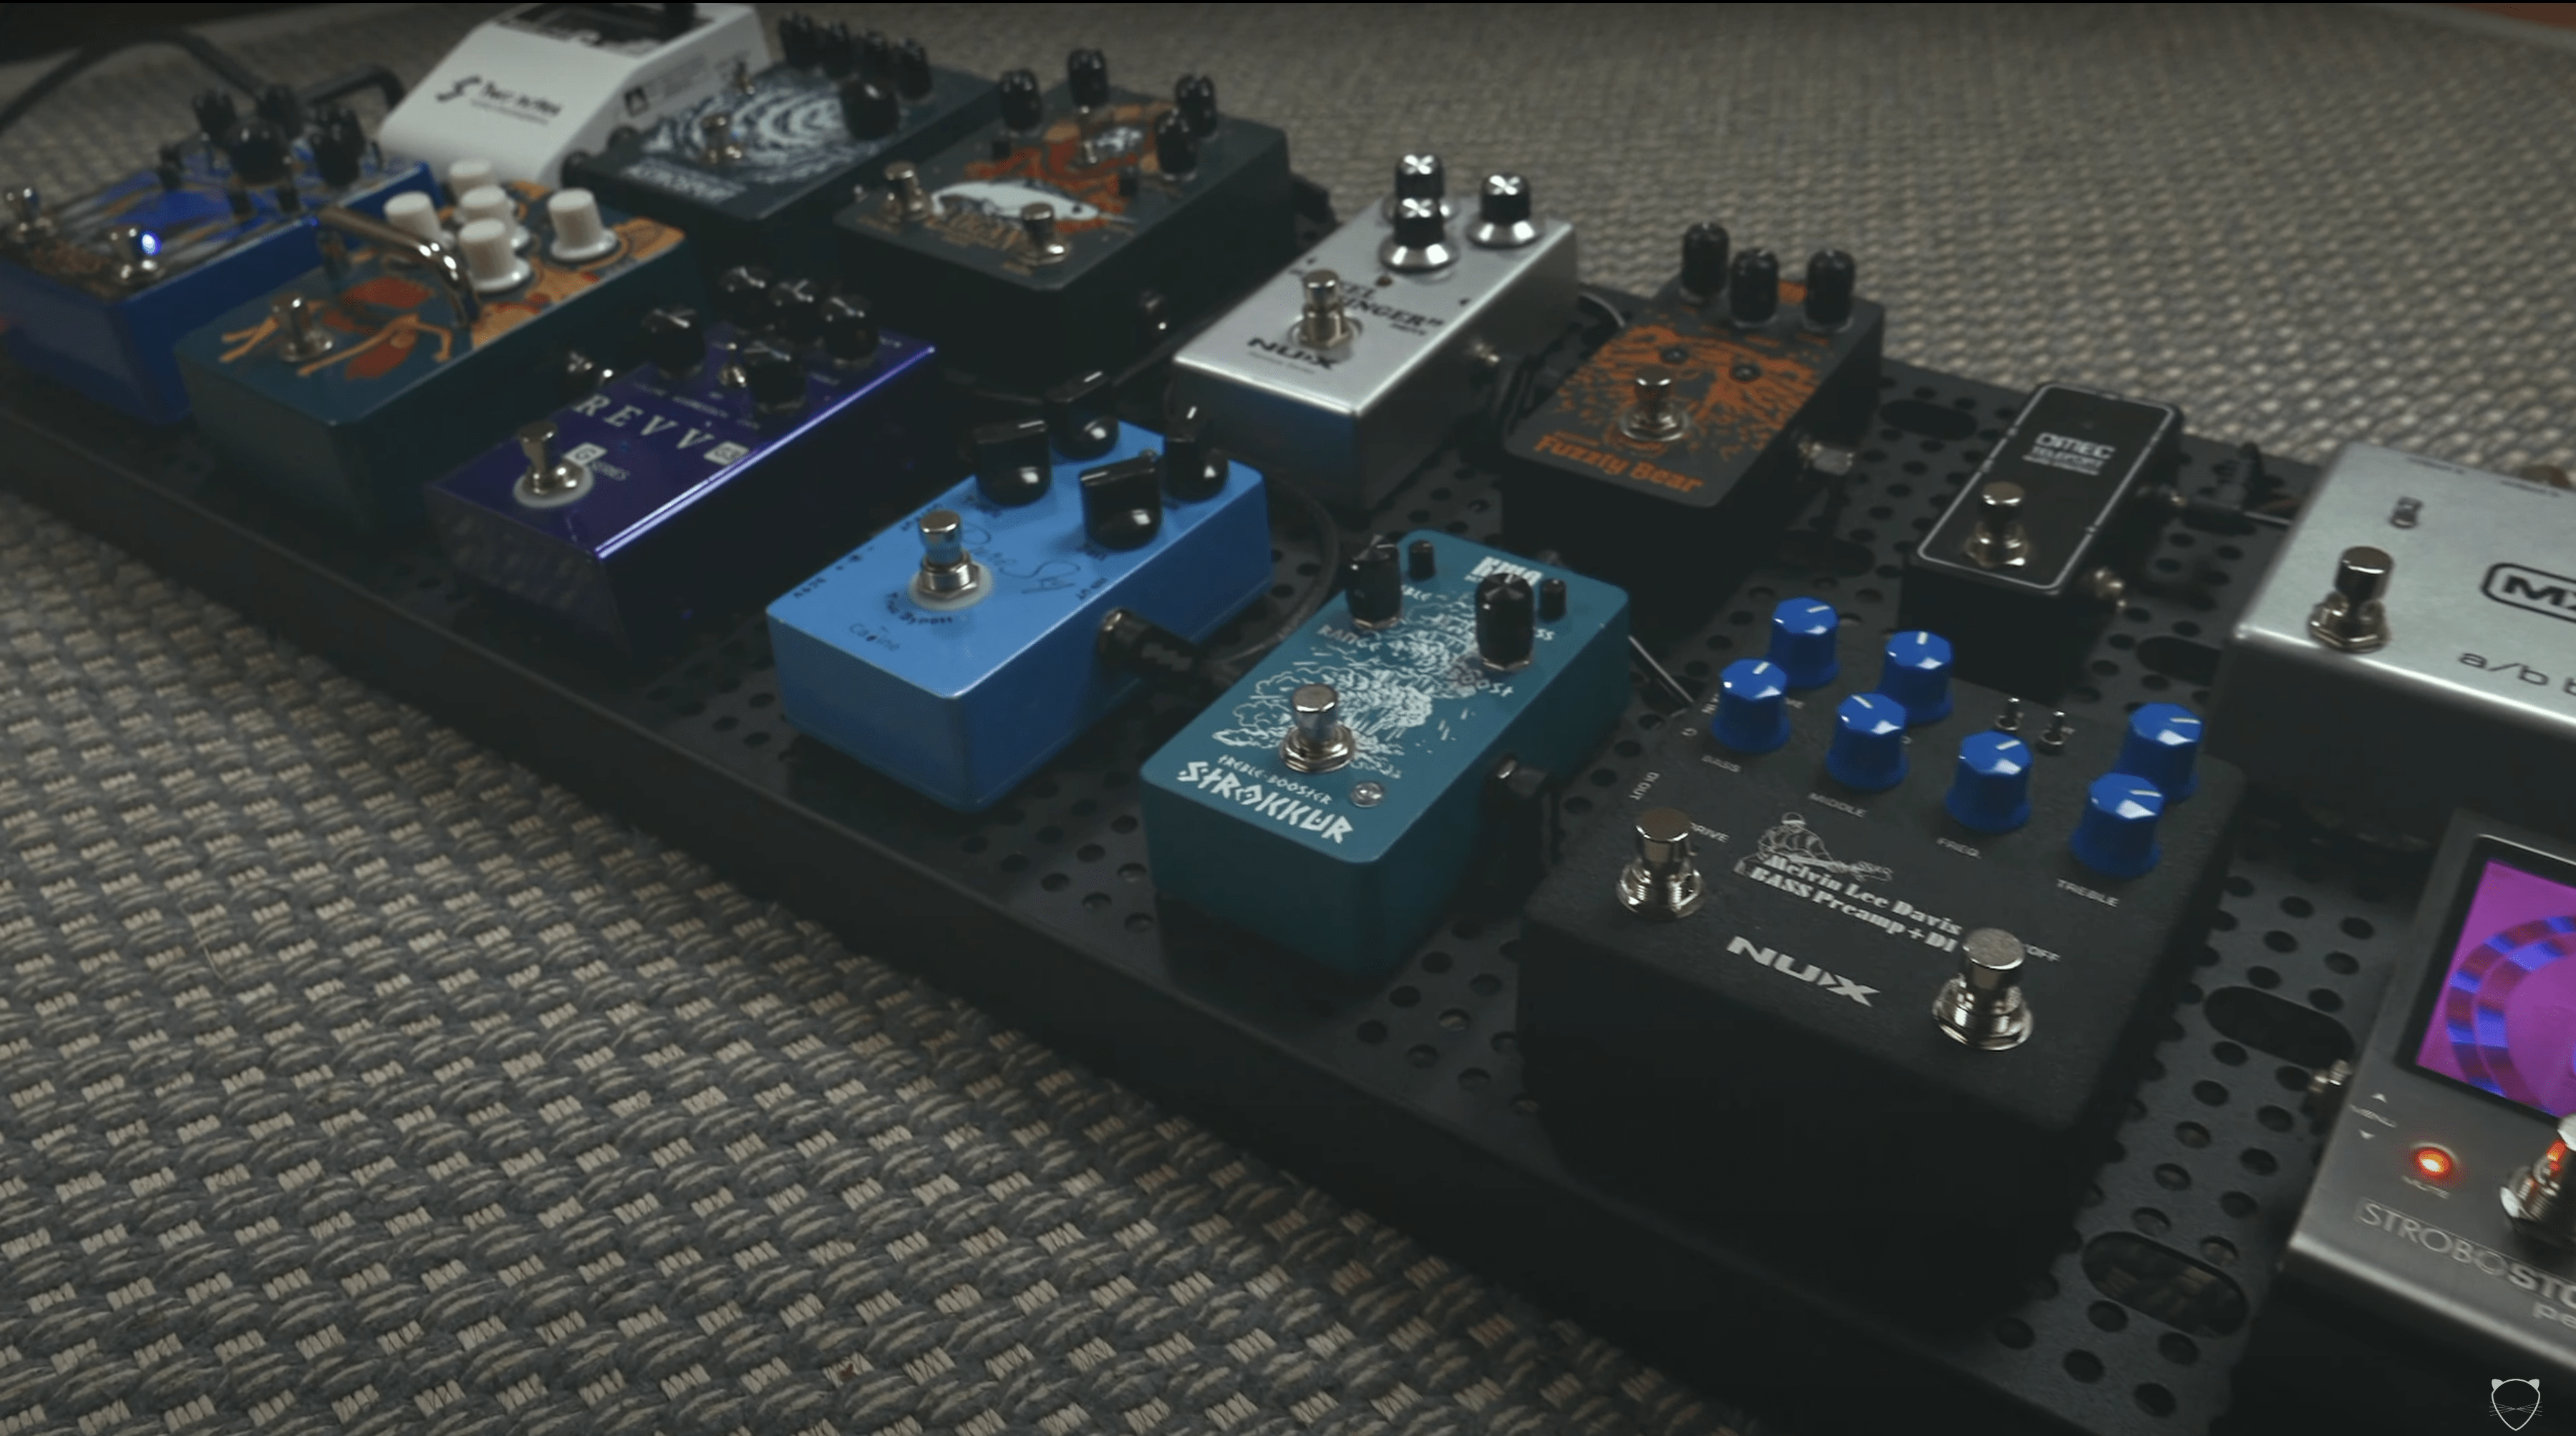
Once every power cable was in place, I wired all the patch cables. Doing this was a lot of fun because of the design of the Temple Audio pedalboard: it allows for very clean-looking patch cable runs because of its design. The board looks super clean.
Once I was done it was time for a playtest, and you can hear how the board sounds in the video above.
Why I love traditional pedalboards
I know these things are not as practical as your Helixes or Quad Cortexes. But to me (and many others) having physical knobs and switches feels so… different from all the touch screens and such. Also collecting your own unique palette of ‘colors’ with different drives, fuzzes, and modulation pedals is part of creating your own unique sound that I wholeheartedly enjoy.
And while there are more things that can go wrong with a traditional pedalboard, I would argue even that is part of the fun.
If you are interested in getting any of the pedals mentioned here and support what I do, you can use the affiliate link below:
►►Shop pedalboard gear: https://www.thomann.de/fi/thlpg_k3hrnl12kq.html
Leave a Reply